How To: Clean and prepare perfect off road air filters
Enduro21‘s practical guide to cleaning, drying and oiling off road air filters with top tips from the experts in the filter and oil manufacturers, plus in the race paddocks around the world.
As the barrier which sits between the outside world and the inside of your engine, the air filter has an important role to play in both helping your motor run correctly and live a longer and happier life.
An air filter’s job is to keep out all that dust and/or mud and moisture in the air around your bike as you ride. Sometimes that can be a monumental task, particularly at big, dry events where hundreds of riders turn the dirt to powder and fill the air like someone went nuts in a bakery.
With that in mind we’ve put together a guide to cleaning and preparing air filters, from best practice with the dirty filter, drying and through to applying and refitting to your bike.
A lifetime off road riding ourselves isn’t enough so we got in touch with experts from the air filter and oil manufacturers, plus Pro mechanics to compile a step-by-step guide through the perfect air filter prep process.
We’ve also added in some myth busters and “dos and don’ts” for best practice.
Cleaning dirty filters
Step 1: put some gloves on and get some towelling or cloth ready before you take the filter out the air box and out of its frame/housing.
At the same time, cover the air intake or stuff it with clean paper towel (but make a note to remove it after) to prevent anything getting in the air intake funnel.
Using a good quality air filter cleaning fluid (not petrol, brake or bike cleaner or other product which can contain aggressive chemicals that will degrade your air filter foam or seams) plus a tub, bowl or bucket to thoroughly wash the dirty filter. It needs a good workout in the cleaning fluid to make sure all the dirt is attacked and dispersed.
We’ve used our decade old Motorex filter cleaning tub, which lives on the back shelf in the workshop solely for this messy purpose, but any large, open top container is good.
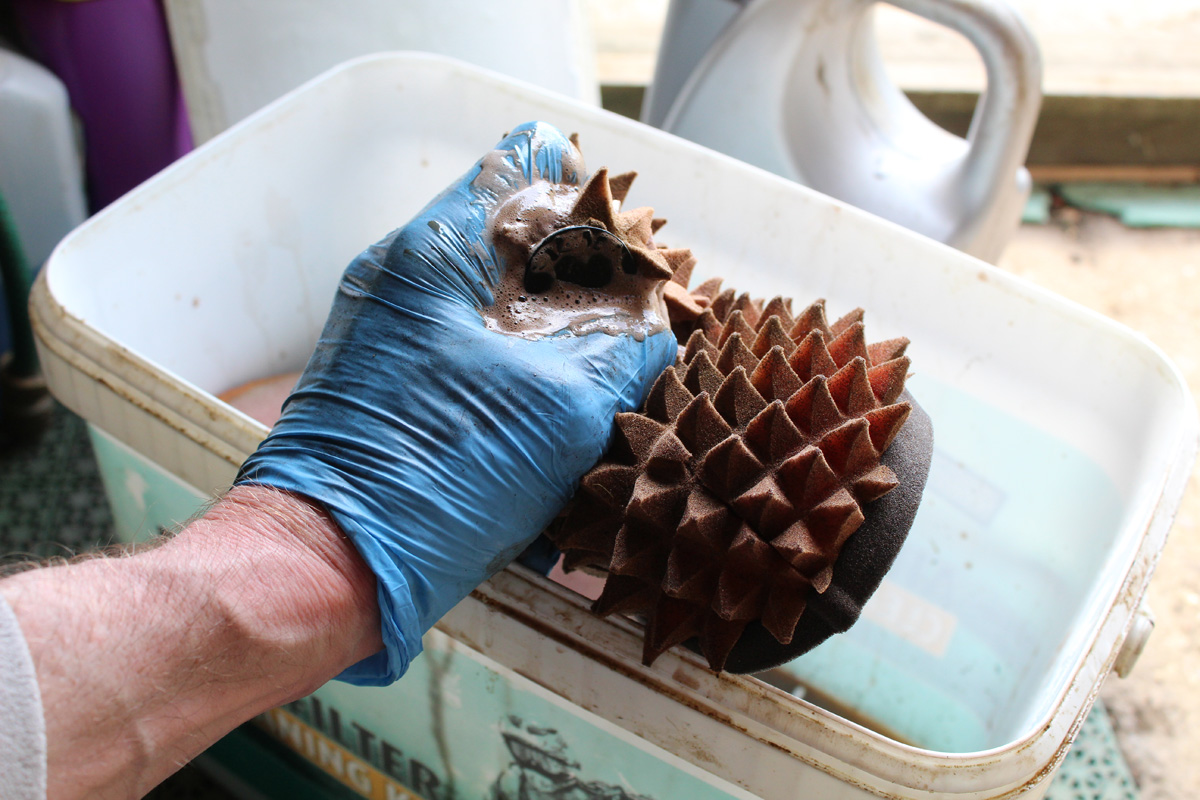
Rinse clean
Step 2: Now move to a separate container to rinse thoroughly. Some filter cleaners are developed to be washed with clean, warm (not too hot) water. Others will be helped with an ordinary household detergent like washing up liquid to get rid of the cleaner fluid from the filter –
This step is important for two reasons: firstly, not cleaning thoroughly can easily mean dirt remains in the filter and now you’ve dislodged it and got it all mixed up on both sides of the filter, it could easily get sucked into the engine. Secondly if you don’t do it thoroughly enough the cleaning liquid will live on and break down the new filter oil when you apply it.
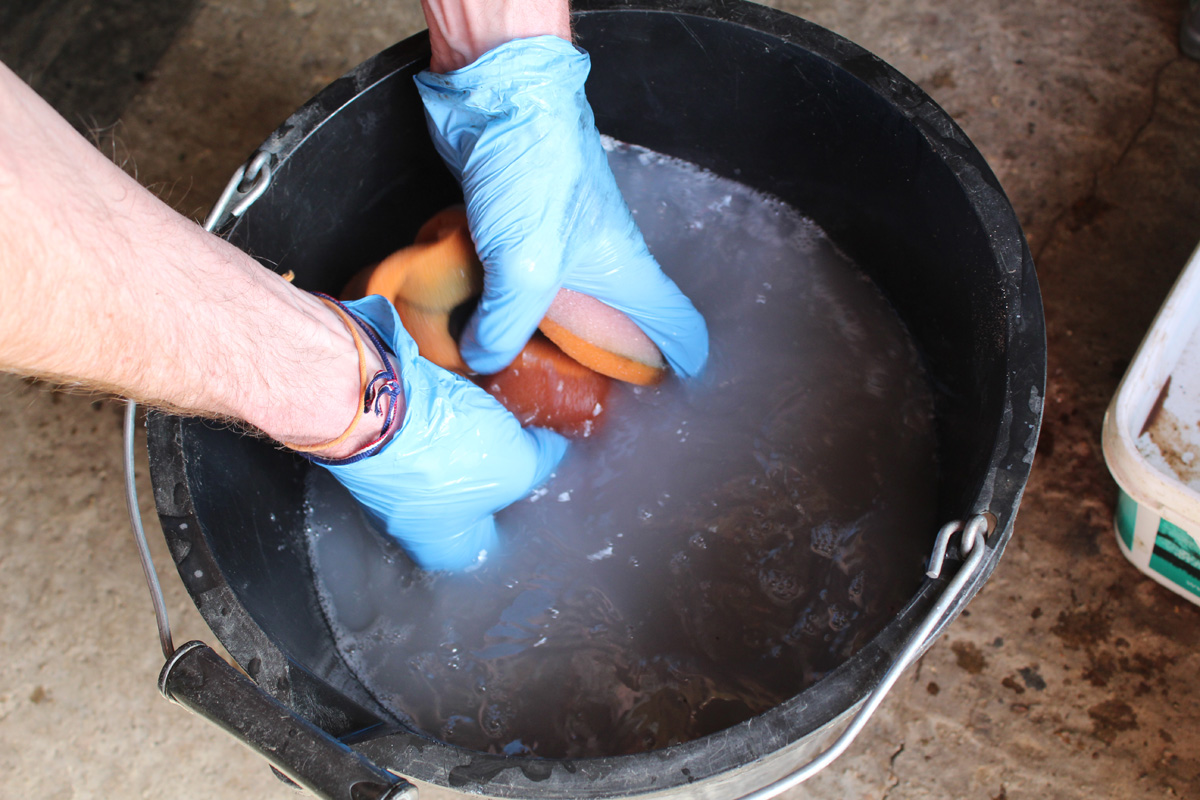
For this reason we recommend another rinse through with clean, warm water to make sure it is properly washed and often we would then repeat the cleaning process.
At this point also a have a good check round the seams and corners to make sure the dirt is gone and give it a health check for tears, rips, seams broken or holes.
Hang time
Step 3: With the filter clean, hang it in a dust-free, dry, airy and ideally warm environment but not in direct sunshine or in a tumble drier (more on this later).
This needs to be long enough to make sure the filter is 100% dry. Most, if not all air filter manufacturers use open cell polyurethane foam which can deteriorate if you don’t let the filter dry properly before applying new oil.
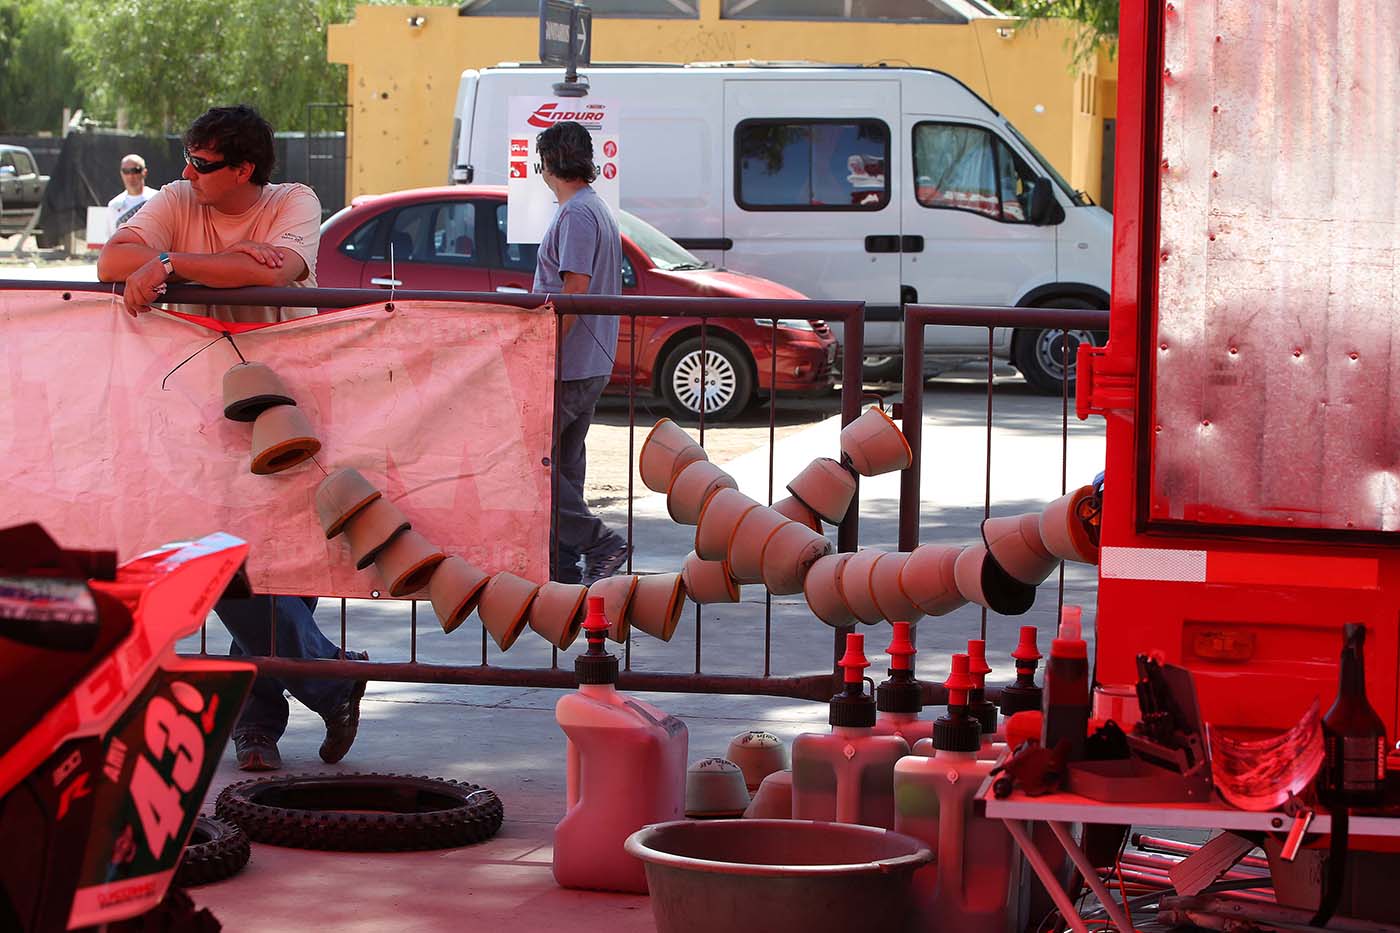
Some readers might be familiar with the sight shown above from a race team or even more so at the ISDE where whole teams of many riders need hundreds of filters washing and drying each day.
This improvised set-up works but imagine the scene above with a dusty wind blowing through the paddock and you can work out why it is much better to hang them up to dry inside your workshop or a your house so they remain perfectly clean.
Blowing it out with an air line helps too but you still need the hanging, drying process and time because the airline is not a 100% method for getting rid of moisture.
Oiling up
Step 4: Foam air filter oil is the only protection other than the foam itself you’ve got grabbing the dust and dirt from passing through to your engine, so this part is important.
Make sure you oil the filter thoroughly with a quality foam filter oil. The old guy in the paddock might have a theory about not needing it, or using olive oil/sump oil/chain lube but good quality filter oil is heavily researched and developed specifically for this purpose so trust it and not the old guy.
There are different methods but whichever one you use, make sure the oil is evenly spread to every corner (usually filter oil is a strong colour so you can see where patches are lighter and darker).
Best practice from mechanics and experts is to submerge the filter in the oil (in a tub or plastic box of some sort), wring it out, and leave it to hang for a minimum of 30 minutes. This method ensures all small corners inside and outside fill with oil.
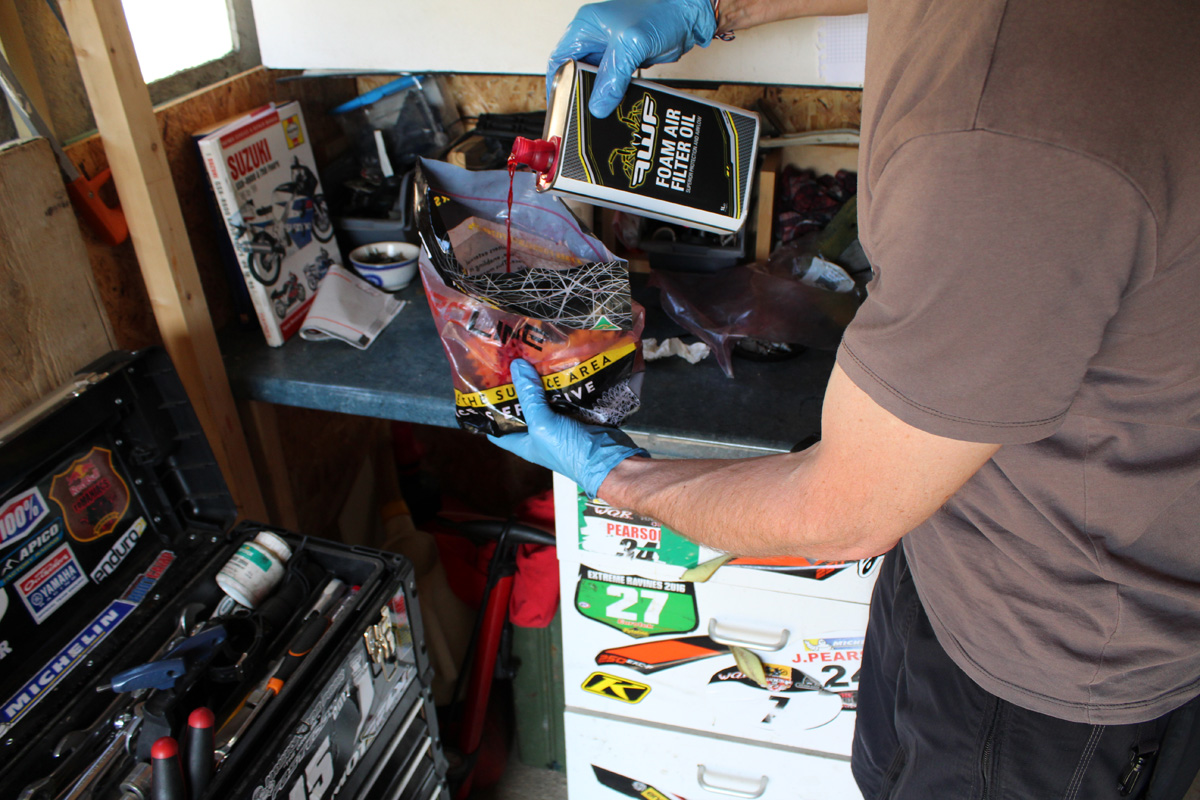
A more DIY or hobby approach (and a good back of the van method) is to apply the oil onto the filter inside a bag and give it a good squeezing workout. That way inside the bag contains the sticky mess.
After that, hang the filter again afterwards so the filter oil coagulates.
Create a seal
Step 5: With the filter cleaned, dried and re-oiled, a thin layer of grease around the filter seat in the air box is common practice to create a seal for the filter and improve the suction of air through (not around) the filter. It‘s not crucial but can‘t hurt, just don‘t use very much.
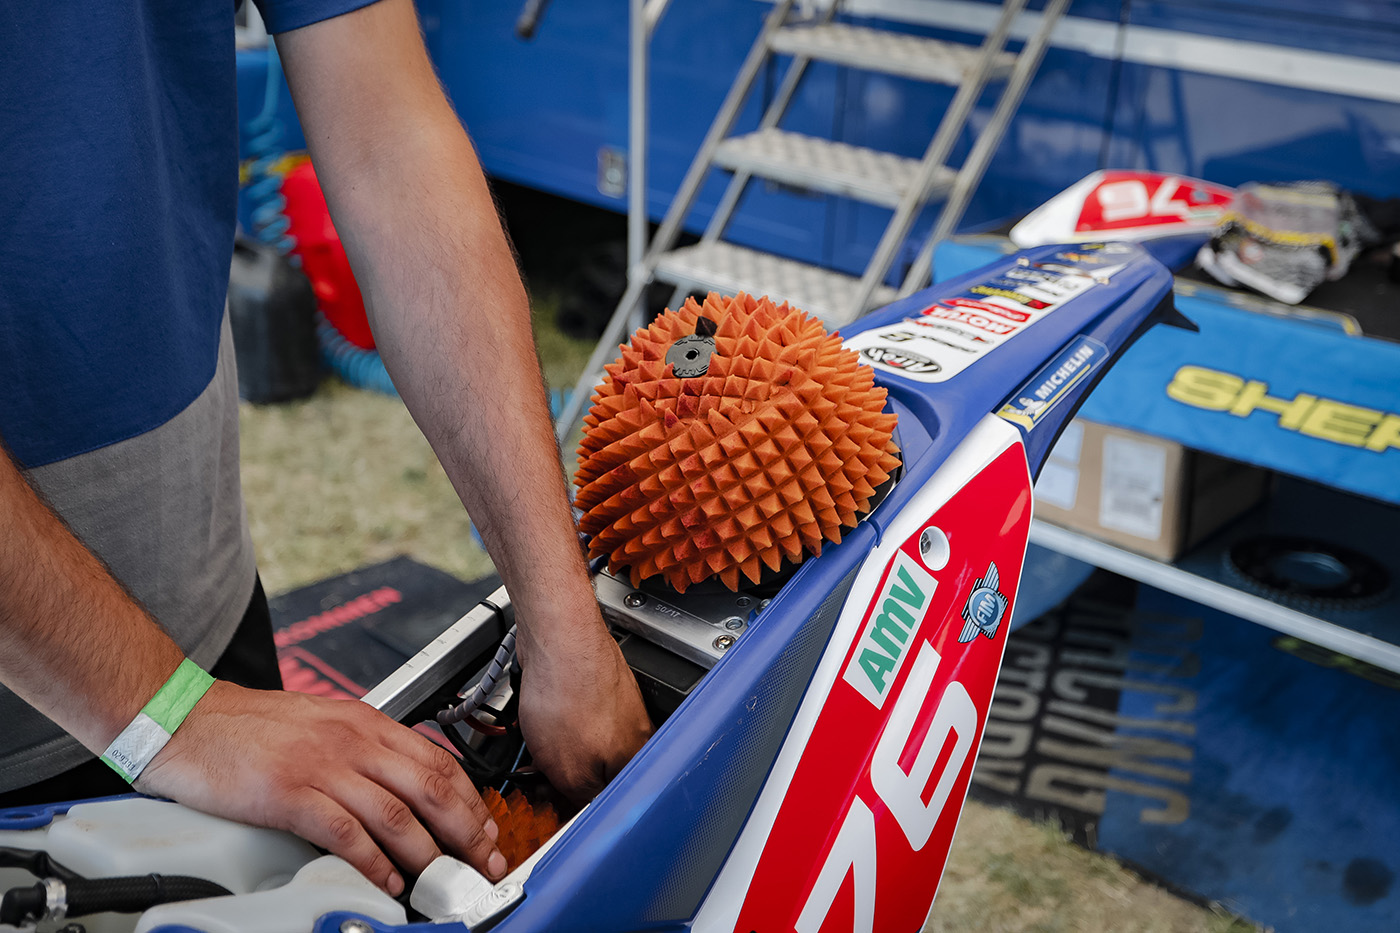
Some filters, usually the best designed, have a different density foam layer where they sit against the bell-mouth to help this ‘seating’. There are also some neoprene gaskets on the market which simply stick under the filter.
Fit them and you don’t need the grease which can be messy and obviously needs cleaning each time you remove and clean the filter.
Oh, and did you check you took the paper out the air intake? After this you can refit the filter and be on your way.
Air filter myths/don’t dos:
- Never clean with any type of fuel (gasoline, diesel, or other aggressive solvents) as this will kill the foam and glue between any layering.
- Never leave the filters in the sun to dry as UV will eventually destroy the foam (gets hard and cracks).
- Don’t oil filters that are not completely dry because it can cause hydrolysis which can break down the foam.
- Spray-on filter oil is ok but generally less thorough for enduro and off-road events where tough conditions for the filter (dust or water) is a bigger factor.
- BIO oils are ok but more susceptible to breaking down and allowing water to pass the filter in wet conditions.
- The more “porous” the air filter, the more power you’ll get. This is a fact but the gains in BHP with some filters can be just as varied because of how the power on a dyno was measured and consistency with testing. Don’t trust everything you read.
- Also remember the physics of this too: the bigger the holes are likely to mean greater chance of dirt getting through.
- Covers and skins are popular in dusty conditions or sand races but they restrict air flow and power. The more layers of foam (or dirt), the more restrictions there are to air flow.
- A well-maintained air filter properly oiled will do its job and in the worst of conditions it is far better to replace the dirty filter with a fresh one than fit a cover.
A note on aftermarket filters
Like many things in life, the standard filters on our bikes work fine and do the job but there are upgrade options out there which can improve performance and certainly improve the effectiveness of a filter.
As mentioned above, the ones with a softer foam layer where they seat on the airbox, are a good upgrade.
Beware filters with too many different foam density layers glued to each other because the glue closes the otherwise open foam air cells and, although minimal, restricts airflow.
Beware those with too many holes or grand claims for power boosting – they just might be too good to be true.
What are FunnelWeb air filters all about?
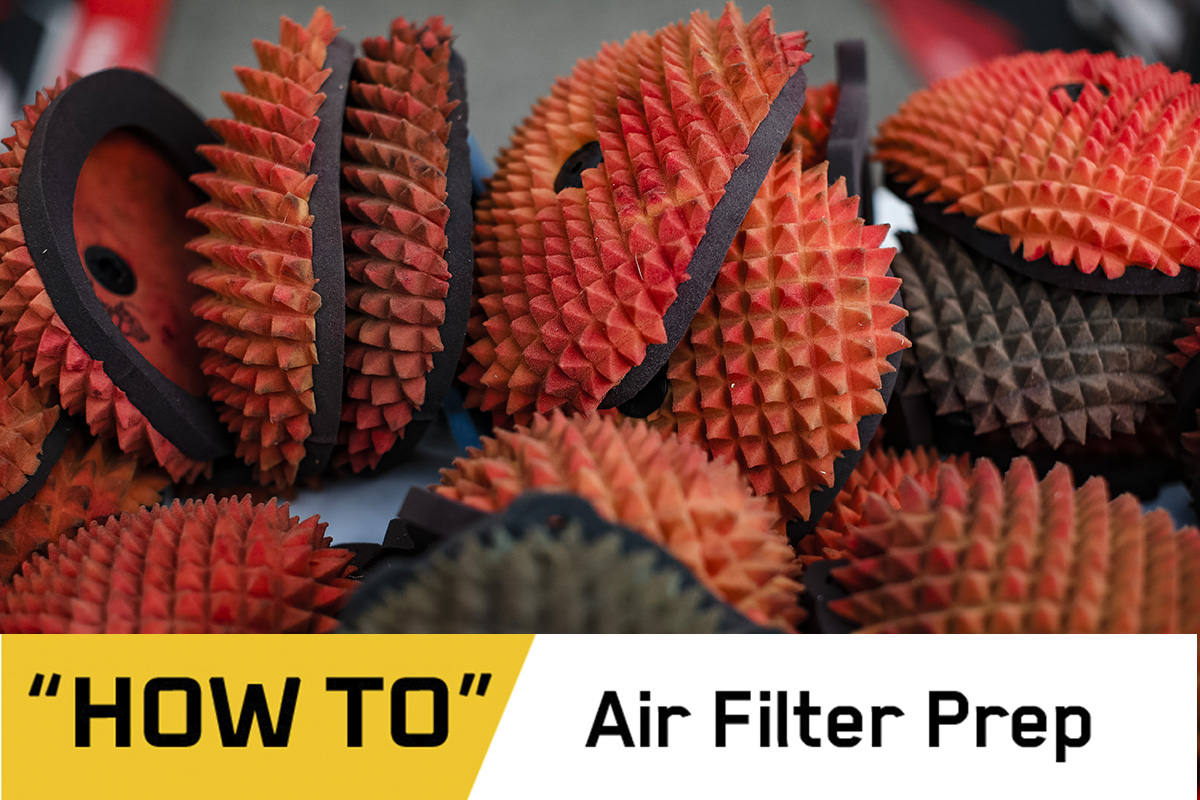
You‘ll have spotted this feature is full of spikey air filters. These are FunnelWeb filterrs which Enduro21 uses on our test bikes.
They have benefits over otehr types because of the increased surface area of the filter. The profile cut, single layer, single density foam doubles the external surface area of the filter without increasing the original filter size.
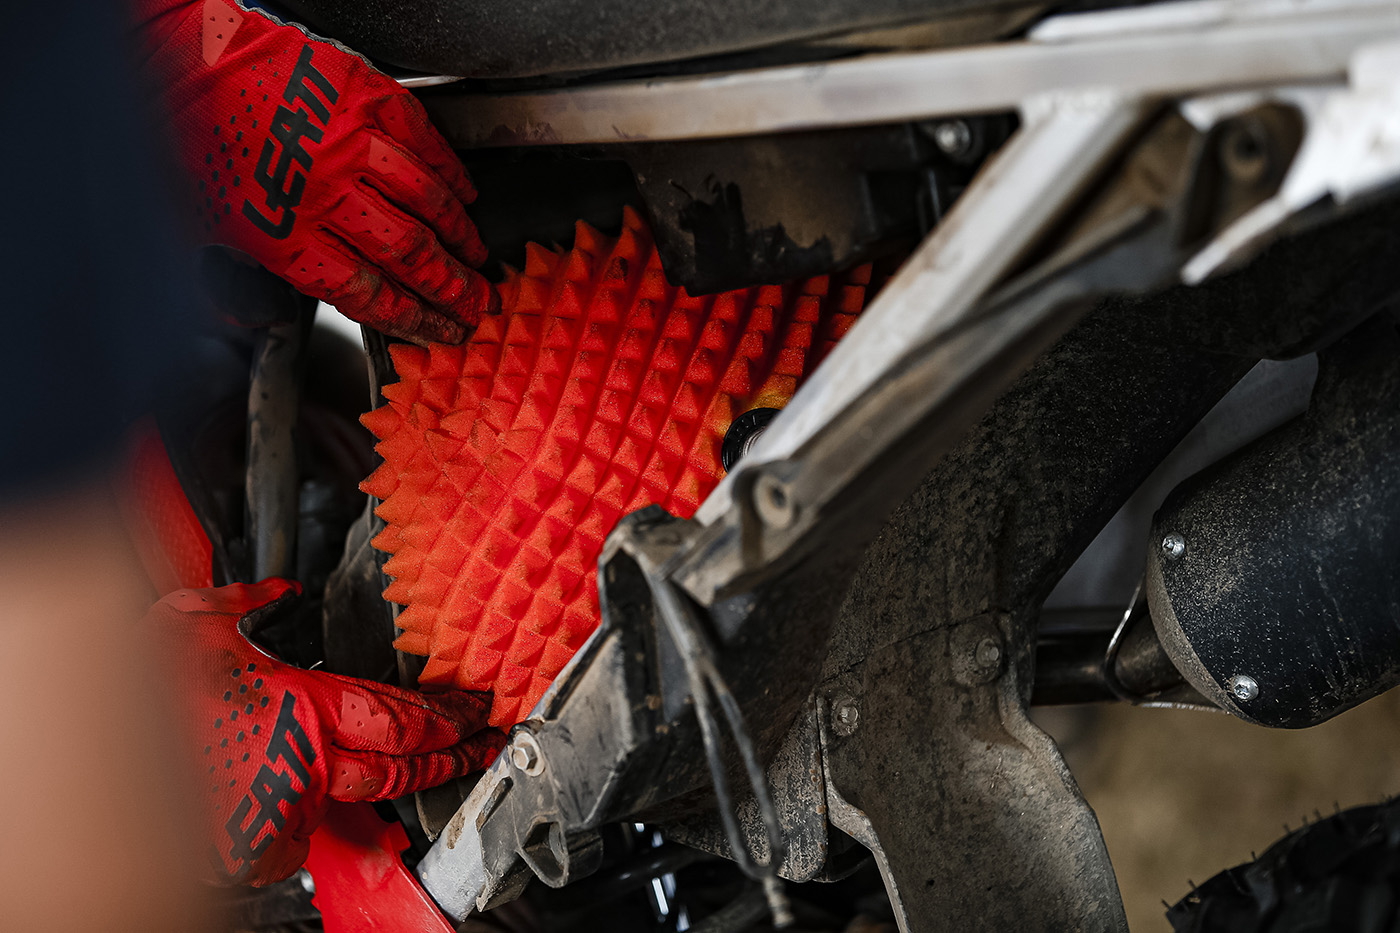
That means twice the surface area to trap dirt, dust, sand and mud for the same performance. We like that idea a lot.
They also don’t deform when you open the throttle which can be a very real (but unseen) issue with some other brands out there. Thin or too soft filters (you can tell the difference by feel in your hand) can mean air flow is inhibited and casues a drop of airflow due to dirt build up in bad riding conditions.
Some filters might produce or claim a couple of bhp more when fresh and clean, as most would if you didn‘t put filter oil on. But FunnelWeb are pretty hot on how well their filters maintain consistant power for the whole ride, even in the worst of conditions.
Photo Credit: Enduro21+ Future7Media


