
How to: post-ride ‘must do’ maintenance rituals
Looking after your bike is key to giving it a long and prosperous life. But are you doing it right? Do you go over it like a surgeon or just wash it, spray a bit of chain lube and walk away? Enduro21 takes a look at the ‘must do’ maintenance rituals after a ride with the help of the experts…
No matter where and how you ride, looking after your bike is important if you want it to behave the same and work properly next time you fire it up. We decided it was time to get things clear – and help you in the process – to nail down the best practice bike maintenance after each ride.
Using a KTM 250 EXC-F, we went to Eric Agué’s race team workshop in North Eastern Spain, to go through their own post-race ritual with them. As a professional race team and workshop they are used to stripping down and prepping everything from their own Enduro bikes to Rally, SuperEnduro, Trials and even street bikes.
We wanted to find out first-hand what they do after an event and what exactly we should be doing with our own bikes...
1. Get the bike ready for cleaning
A lot of us will start cleaning the bike right after we arrive at home (or at the nearest gas station), we put it on the stand, start the pressure washer and get on with it. If that’s you, you’re not doing it wrong, but you could be doing it better.
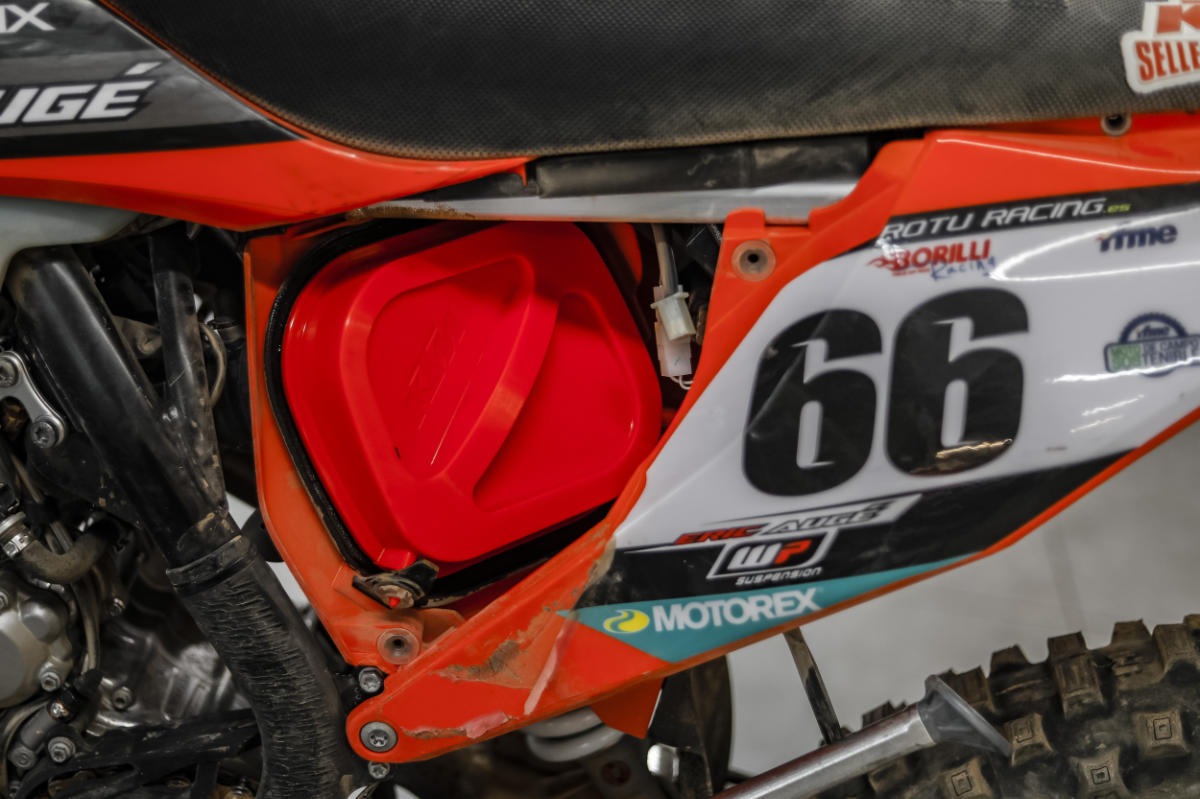
If you want to give it a professional clean the first step is to get in on the stand. Once there, take out the air filter and install the plastic cover so you can give the airbox a good clean –and put the silencer ‘bung’ in too. As alternative if don’t have a cover – put paper down the intake ‘throat’ and a plastic bag over the filter.
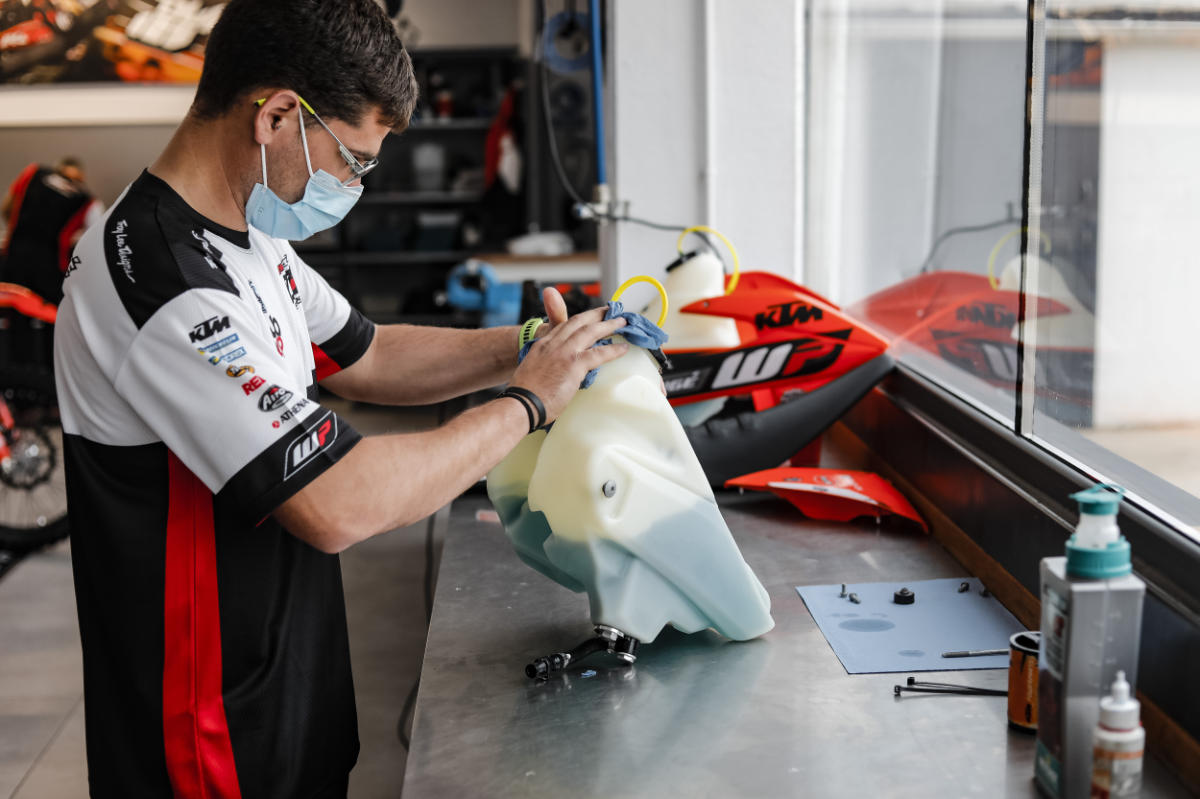
The Eric Agué mechanics also take the seat off and unbolt the fuel tank at this stage and leave on the bike. By doing this you’ll be able to access the dirt on the higher part of the engine and the chassis way better.
When you unbolt fuel tank out make sure to block the fuel lines with some caps to avoid water going in – doing this right is key for the next step.
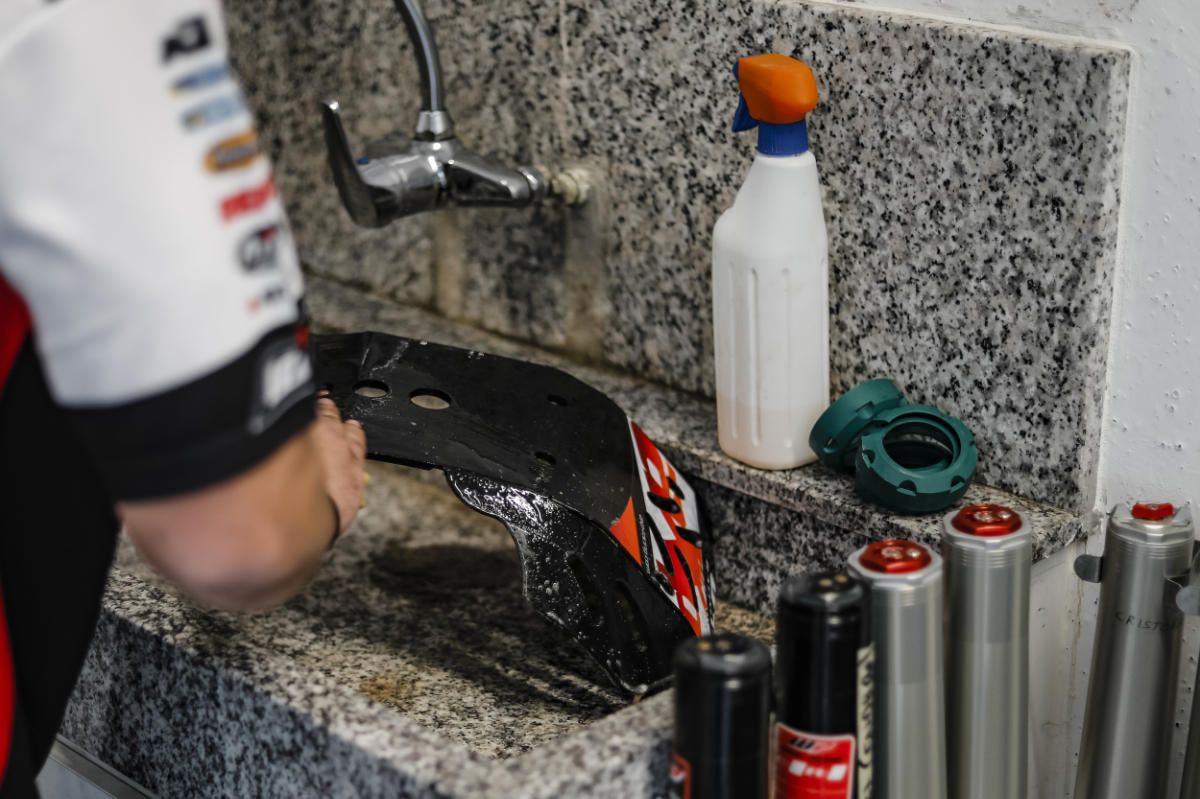
Another part to uninstall is the skidplate. As with the fuel tank a lot of dirt is accumulated here and it also won't let you clean the bottom part of the engine.
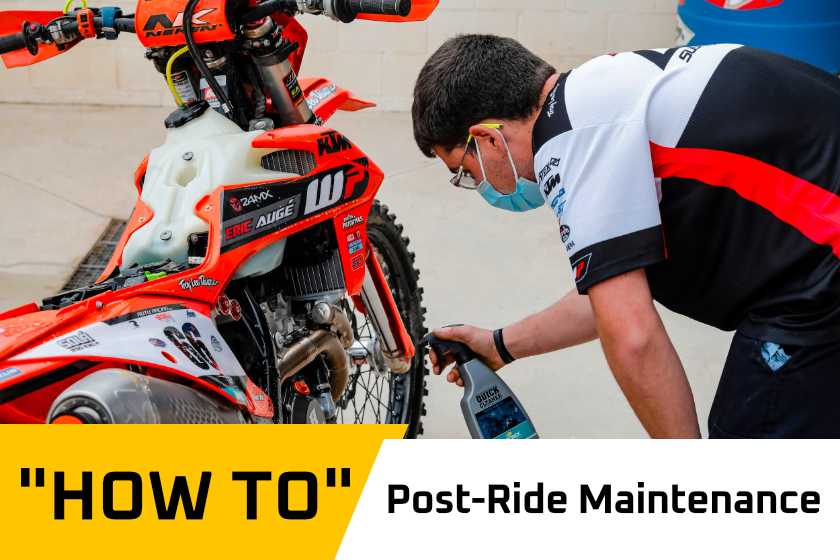
2. Extensive clean and dry
The second step is the one that – for many of us – is the first one: cleaning the bike. But maybe more intensively than you’re used to doing.
Some of us will put the bike in the stand and won't move it but if your bike is always in the same position you’ll miss the more inaccessible parts.
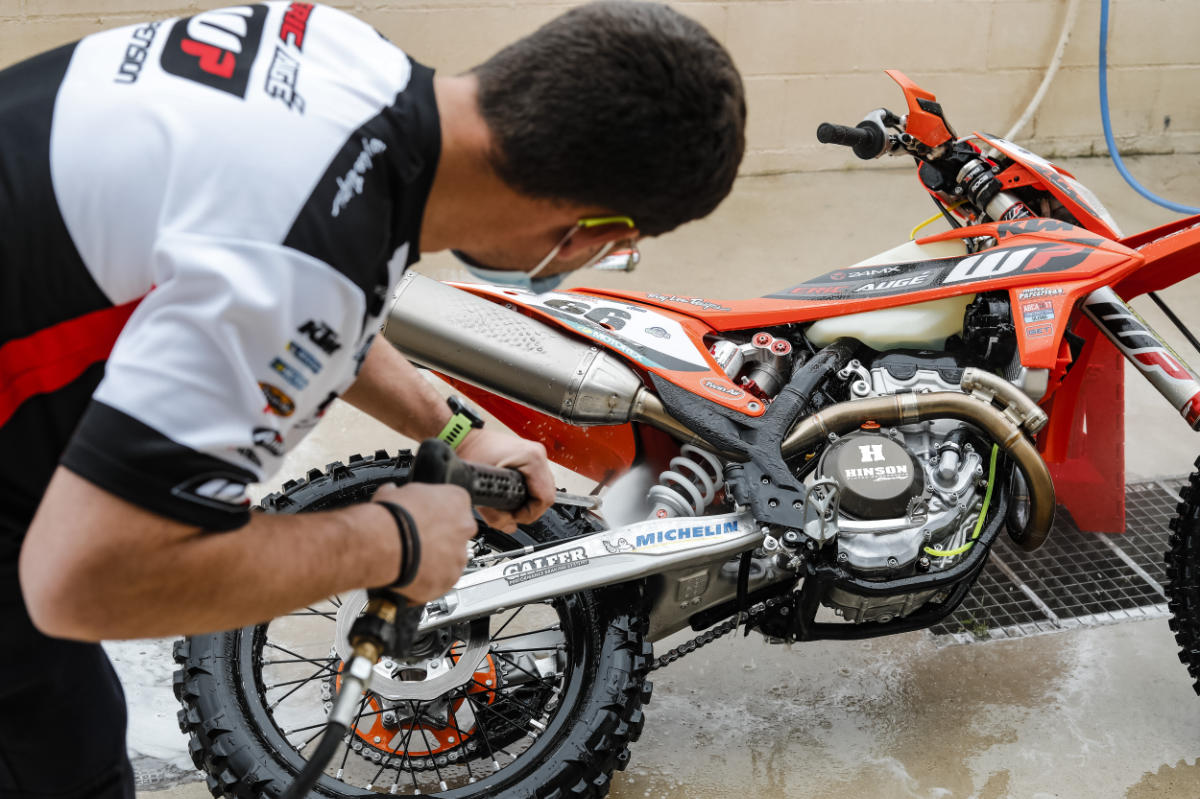
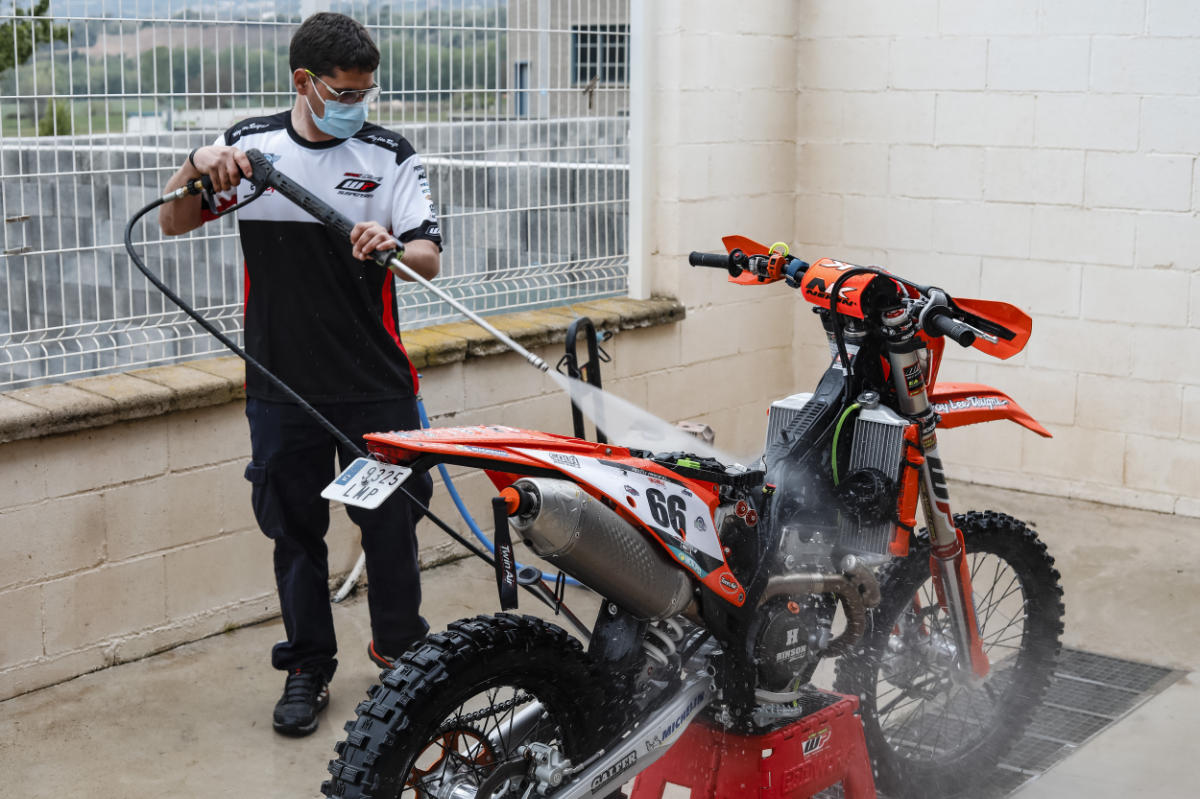
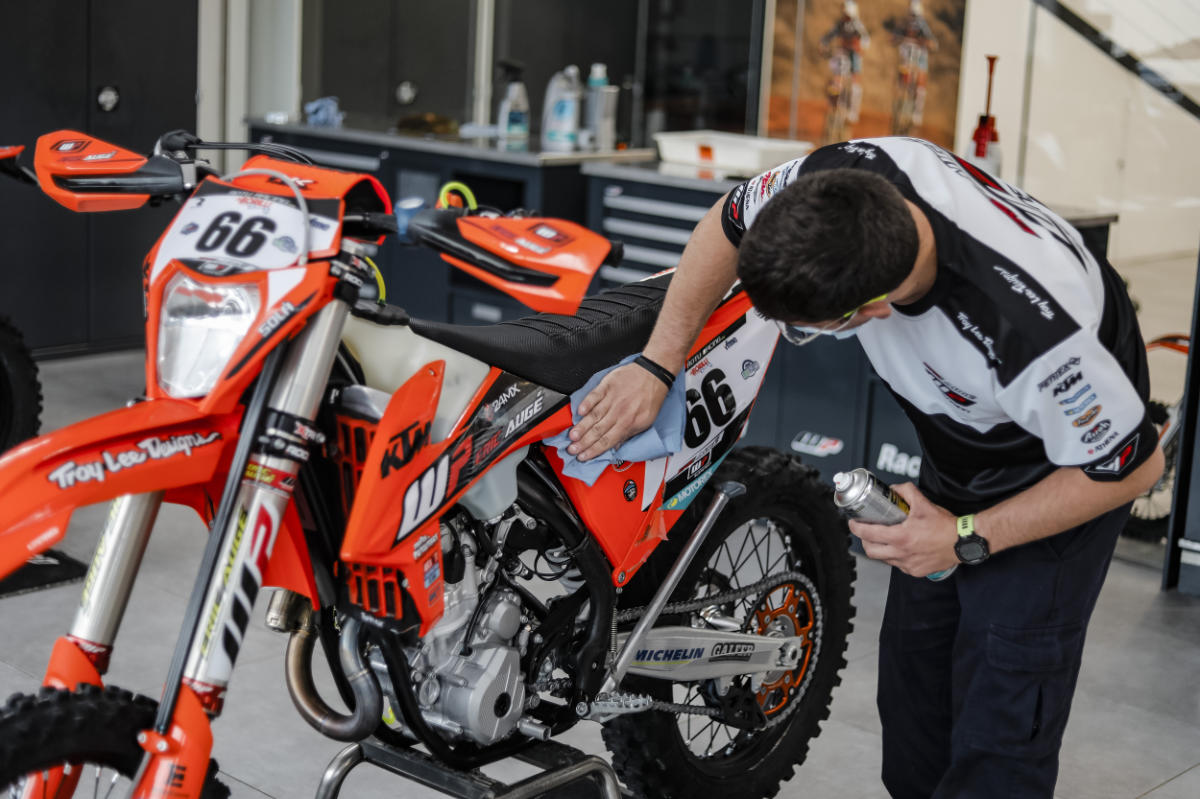
The first job is to get the worst of the mud off with the jet washer. You need to be able to see the plastics and parts again. Next spray bike cleaner all over the bike and leave it for a few seconds so it can ‘work’. At Eric Augé they use the Motorex Quick Cleaner, Wipe and Go.
Now go back to the pressure washer to give it a nice clean paying special attention to those areas where the dirt gets stuck and it’s difficult to get to. Places like up behind the exhaust header, around the front of the swingarm or inside the lower fork legs and all the while paying attention not to get the jet wash nozzle too close to any seals. Lay the bike on each side to access the dirt from all angles – put the handlebars on a stand if it helps.
Next put the bike back on the stand and lift off the fuel tank and seat (remember that you have already unbolt it in the previous step), give those areas a spray with cleaner and finish washing it.

Drying your bike is as crucial as cleaning it and even more nowadays due to all the electronics that they have. Ideally using an air compressor to dry it and pay special attention to the electronics under the seat and spots round the engine and chassis where water can accumulate.
Clean the seat, fuel tank and skidplate separately, just with a water, soap and a sponge ideally and take out the radiator scoops to get at any mud or grass out of there too – though again don’t get a jet washer too close or you could stove in the radiator fins.
If you haven’t got an air compressor then wipe dry with a cloth and, with the fuel tank back connected (the exhaust bung out and a fresh air filter installed), start the engine for a couple of minutes to warm it up and dry any collected water.
Enduro21 note – at this stage it is also common practice to spray the bike over with maintenance spray on the engine, moving parts like the footrests and sprung, foot lever ends. With the bike started on the stand you can also run it in gear (make sure it is stable!) to throw excess water off the chain and then apply some chain lube.
3. Oil change
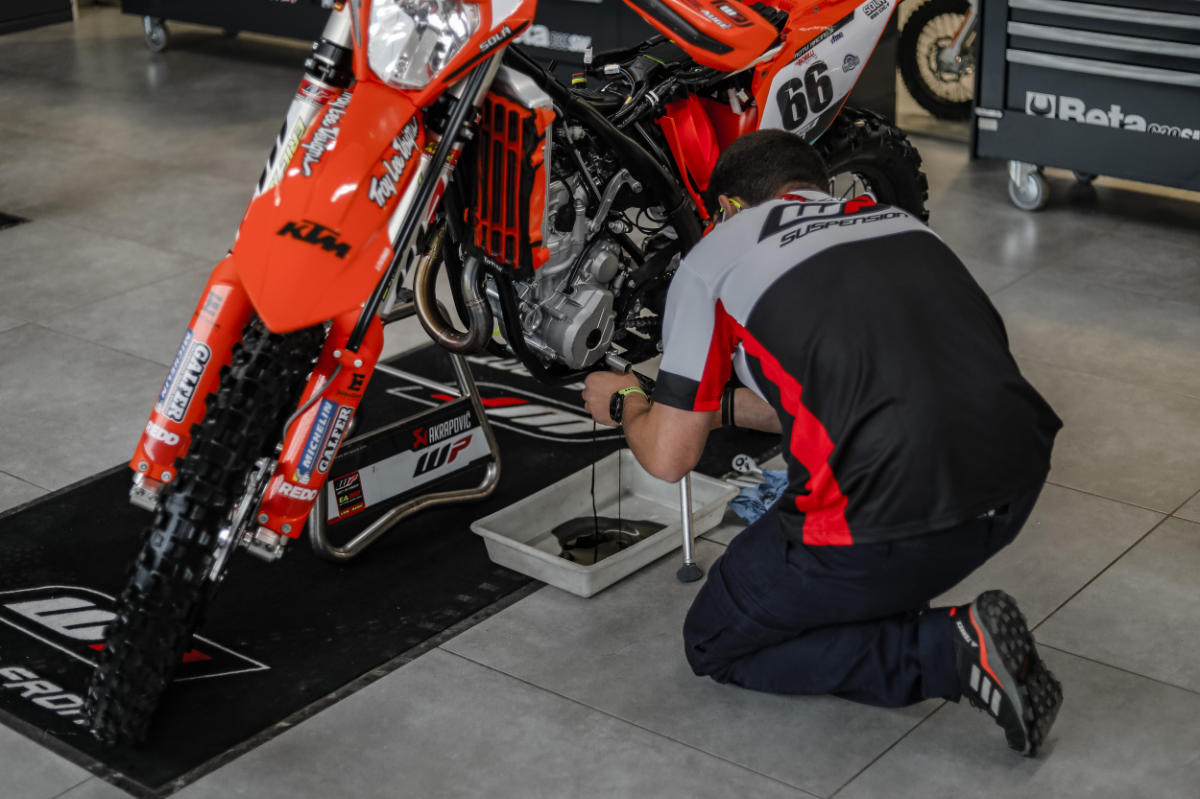
You can skip this if you aren’t a racer (although we still recommend doing it regularly) but with the bike back in the garage, the next step is to replace the oil – these guys do it after every race.
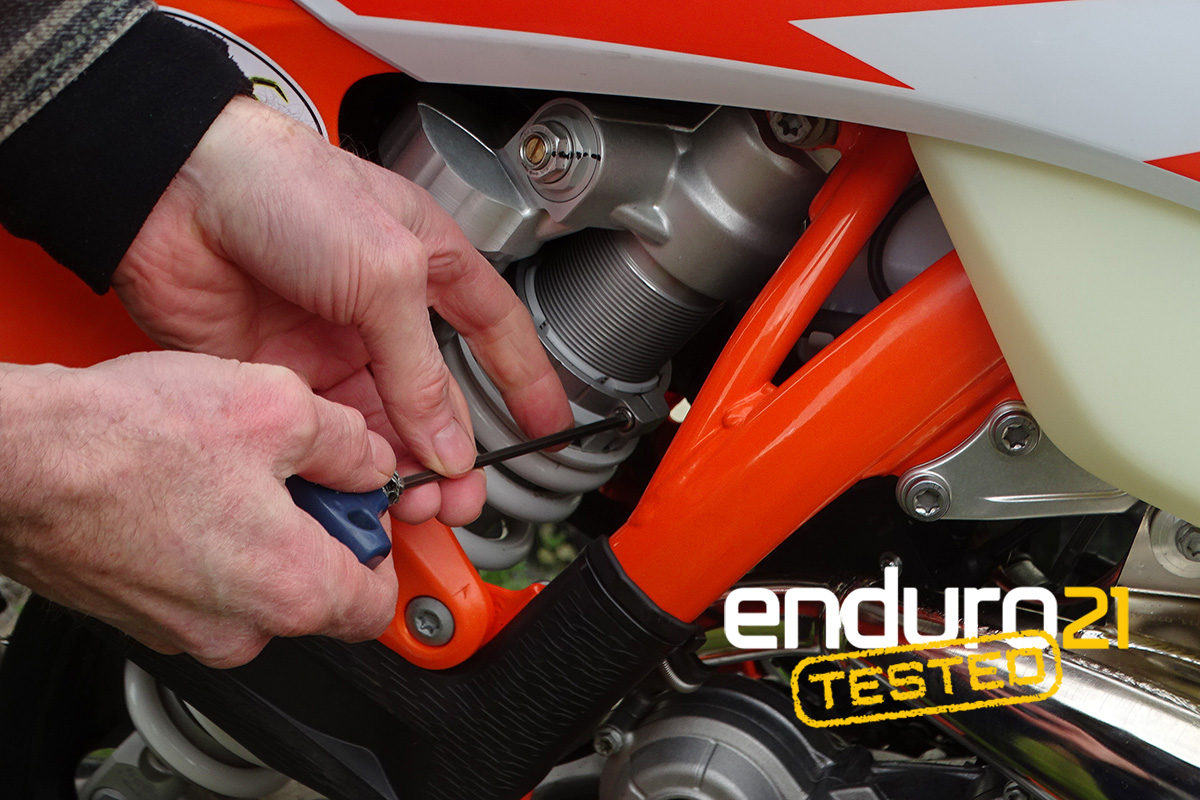
It’s easier with the engine and oil warm so start her up again and use this time while the bike is warming up to get the air out of the forks by releasing the small air screw on the fork tops.
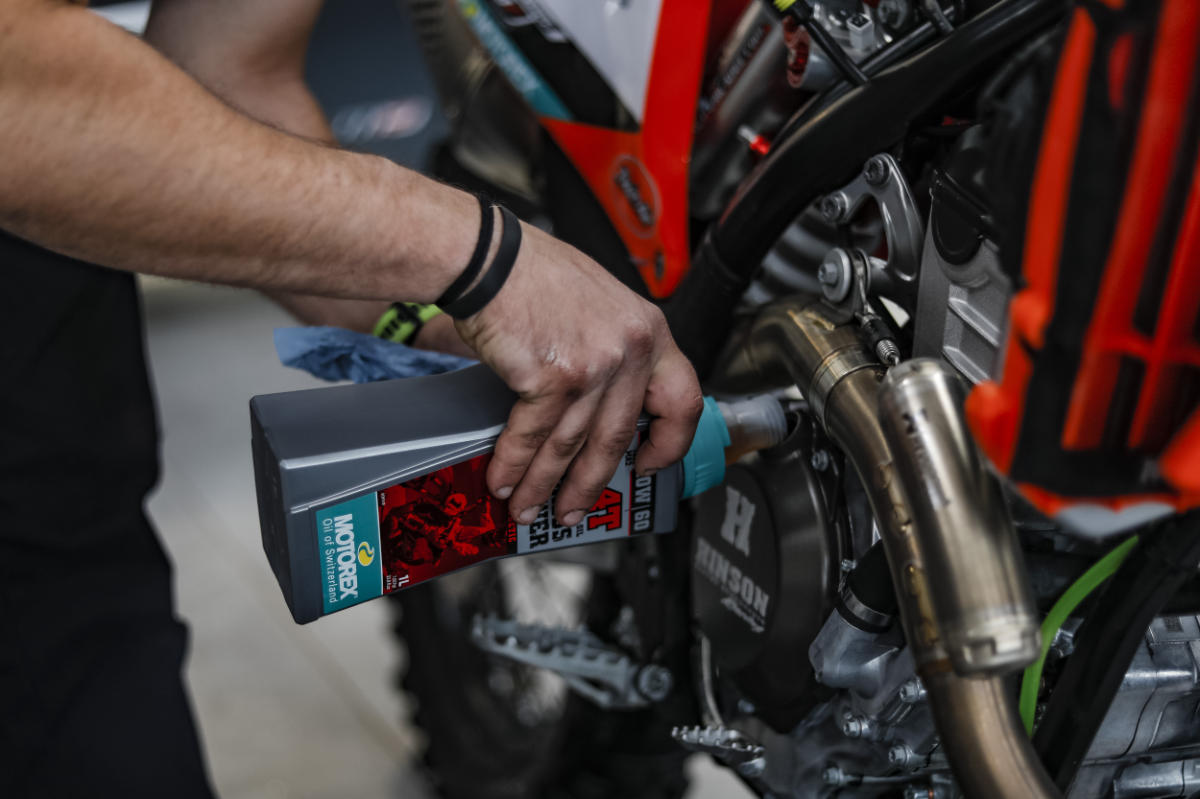
If your bike is a four-stroke best practice is also to replace the oil filter – 2-stroke owners skip on. Marc Padrós, one of Eric’s mechanics, showed his 4-stroke engine oil change hack: he fills up the middle of the oil filter, puts it in, replaces the cover and then gently hits the starter without making the bike start – it’s common among the factory mechanics he says. By doing this the pump won’t run dry but will load up and the oil will circulate easier inside.
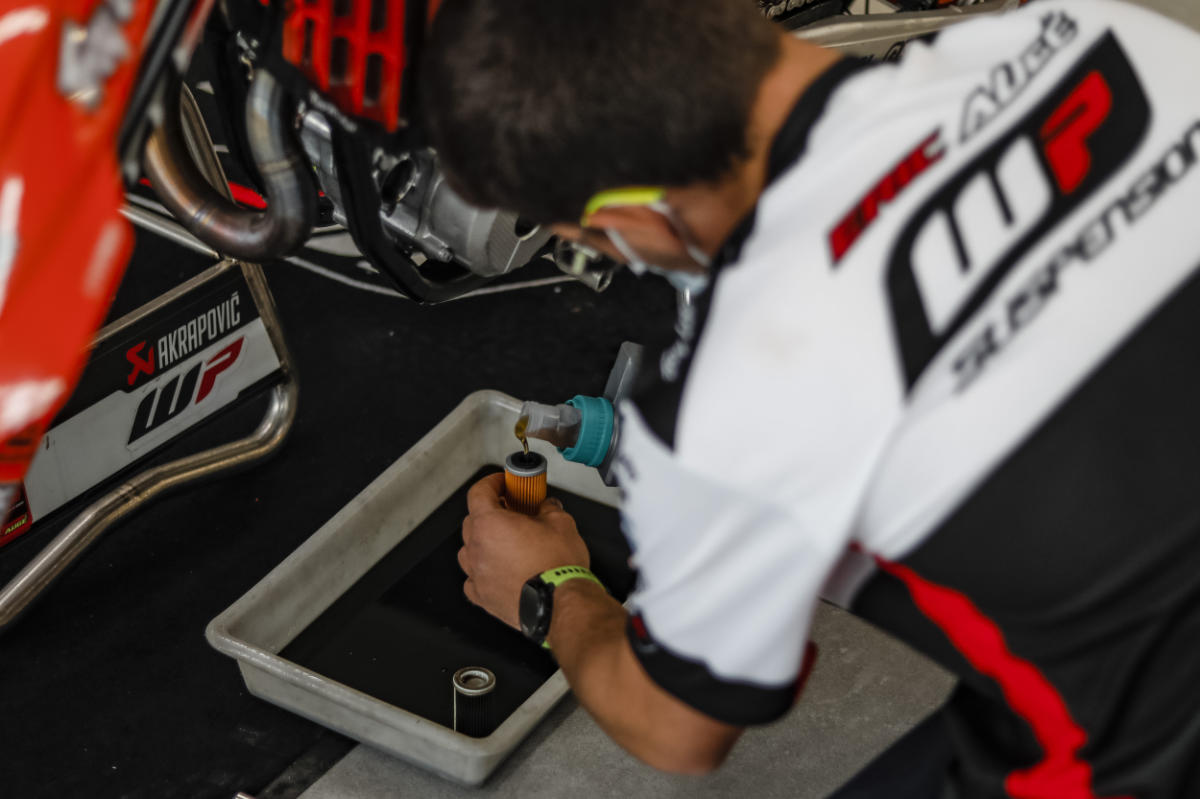
They added 1 litre of Motorex oil in total, taking into account the amount that went into the oil filter. With this amount, in a KTM EXC-F, the oil sits at the middle of the port or sight hole. The mechanics at Augé’s say that it’s better to put a bit less than a bit more of the amount indicated by the manufacturer.
4. Check that everything is where it should be
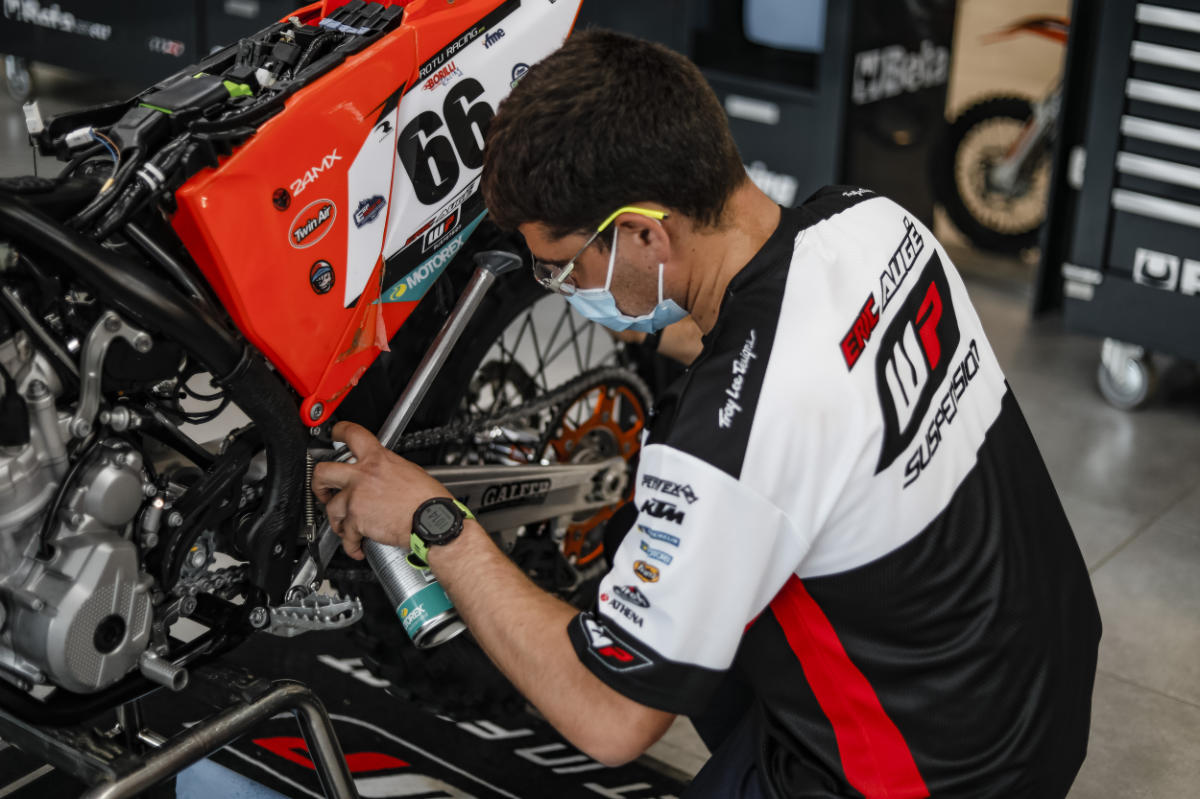
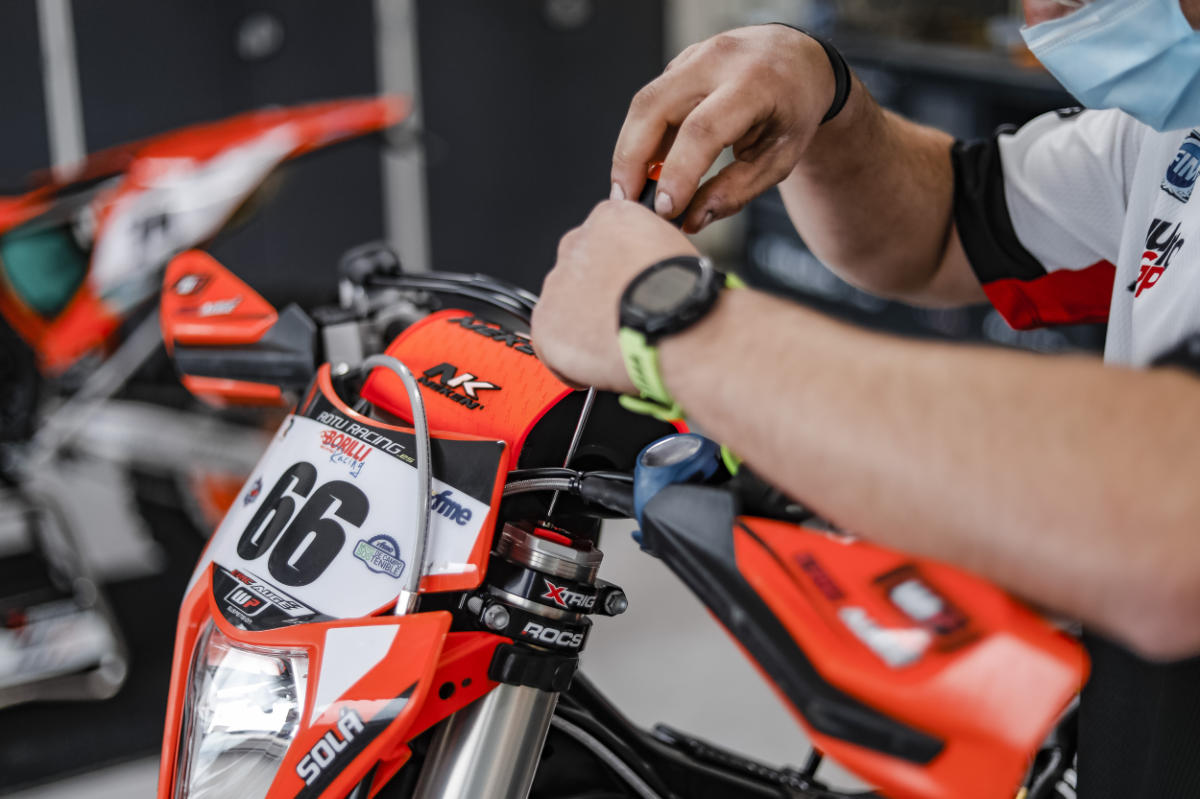
After putting new ‘blood’ in the engine the next task is to check all the bolts are tight. A torque wrench will come very handy for this step, this way you’ll be able to tight every bolt to the manufacturer’s spec – they should be in your manual but if not check with a dealer.
The key points to look at are: rear brake pedal, brake and clutch levers, triple clamps, handlebars, engine, subframe, engine mounts, front and rear axle. But don’t forget to check them all.
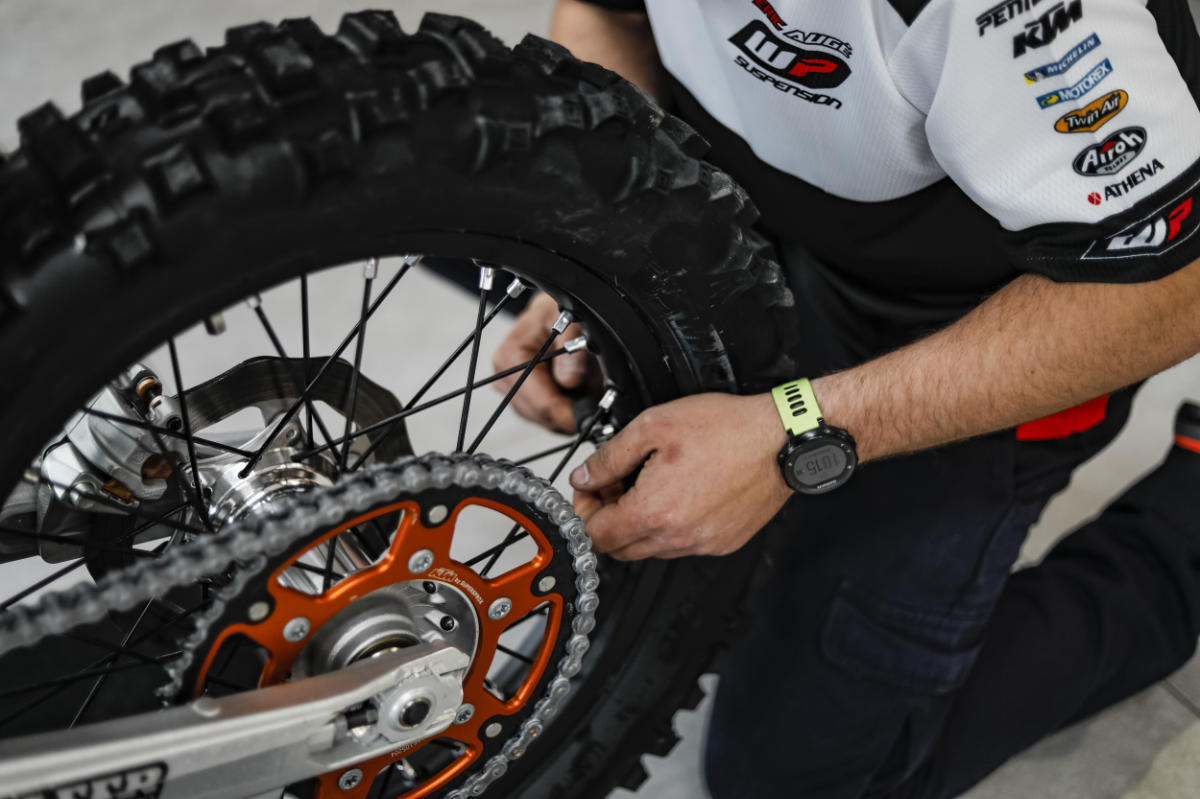
Lastly, check the front and rear rim spoke tension and again it is best to use manufacturers torque specifications and a mini spoke torque wrench. The process the Augé boys use is a methodical one to avoid missing any and to make sure the wheel stays true. Start at the rim lock and check every other spoke all the way around. Then on lap two, check the tension the tension of each one you skipped in the first lap. Last time around check them all.
Checking the spokes is crucial if you have a new bike as they tend to get loose quite easy until they are ‘done’ to the bike.
5. Check the fluids and brakes
The final step is to check the bike’s fluids. Start by checking the coolant level (once the engine is cold) by opening the cap to see the level is just above the radiator fins inside.
Most of us tend not to pay much attention to brake fluid but it’s quite advisable to change it regularly because contaminants (dirt, air, water) get in there really easily. Keeping on top of this stops brakes getting spongy.
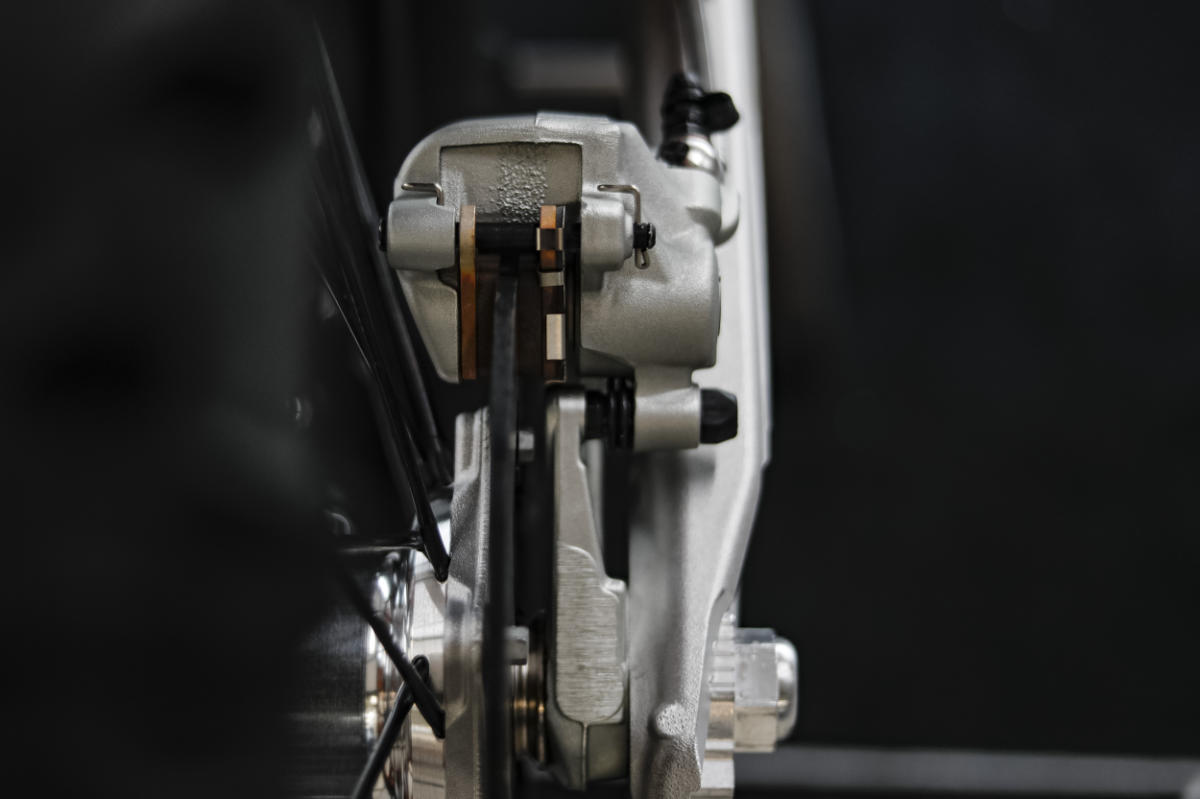
While you’re doing this give the brake pads a visual check to see how they’re doing for pad thickness but also to clear out any dirt from behind the pads in the calipers. It’s just a couple of bolts and takes no time.
When you have finished with this process, run the engine for a couple of minutes before turning it off and checking the oil level looking through the porthole or by untightening the level bolt in a two-strokes.
Photo Credit: Enduro21 | Nicki Martinez