
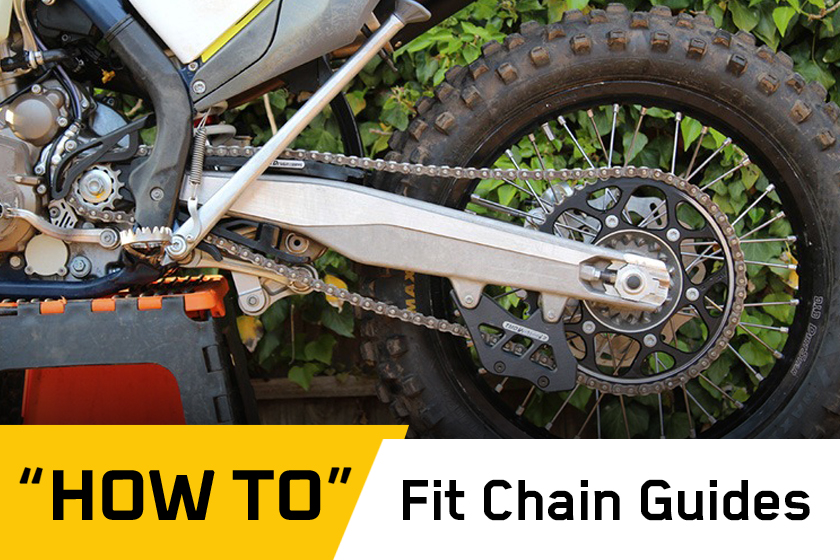
How To: Fit TM Designworks Slide n Glide chain guide kit
TM Designworks Slide ‘n Glide chain guide and rear sprocket protector kit workshop fitting guide...
Resting firmly as one of those forgotten parts on our bikes, chain guides actually play a huge role – helping guide the chain is only the half of it. Used and raced at the highest level of off-road races by the KTM, Husqvarna and Sherco Factory teams, the TMDesignworks chain guides are designed to be a like-for-like replacement.
They also help protect the swingarm and rear sprocket, help prevent chain jump and wheel lock-up and help reduce power losses due to excess chain movement as you ride.
We understand the basic principle of providing better chain protection and reduce friction, lowering surface drag and chain plate wear. But here’s a fact we hadn’t realised until we engaged brain to write this feature: the reduction of friction has an impact on power! Of course it does we hear you cry.
TMD also say the lower frame pad and chain guide reduce loss of power over jumps due to less chain movement and drive chain control.
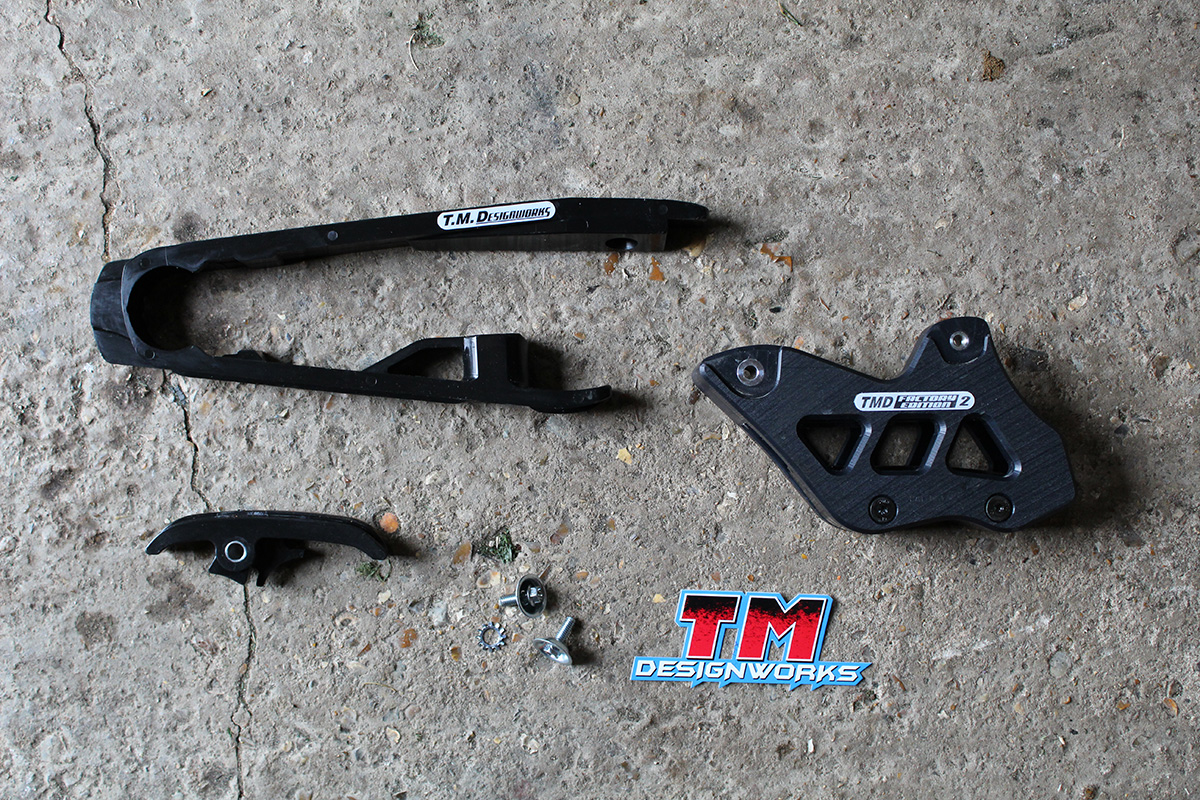
What’s in the Slide n Glide kit?
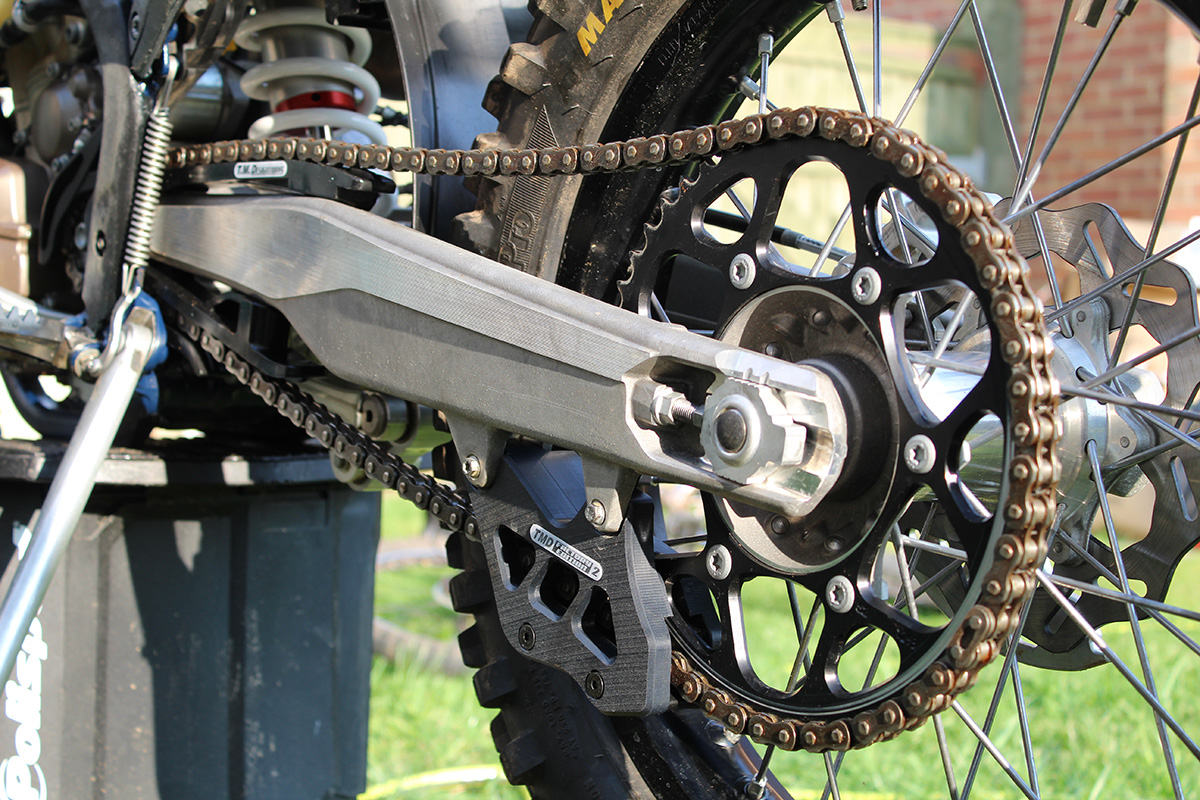
The TM Designworks ‘Slide n Glide’ kit consists of their Dirt Cross front chain slider, Powerlip lower frame pad, and Factory Edition 2 rear chain guide – you can buy the parts individually but opting for this full kit saves you a few dollars.
Ready to get busy
Whenever carrying out any kind of maintenance task, always get everything you’re going to need ready before you start. That means organise tool, parts, lubes and rags and having them to hand. Getting all tools laid out and any instructions read properly before you start is always a good idea.
Also, when you’re washing your bike after a ride, if you know a specific job needs doing during the week, make sure that area is as clean as it can be.
Removal
Removal of the stock parts is easy enough with just a handful of tools – in fact the whole job took us less than an hour to complete. We’ve used our test mule Husqvarna FE350 but this kit fits most 2011-onwards KTM and 2014-onwards Husky off-road and enduro models.
First task is to loosen slightly the front sprocket bolt (follow manufacturer’s instructions on this) before removing the chain completely and the rear wheel. The front sprocket protector needs to come off after which you’ll need to take the front sprocket off.
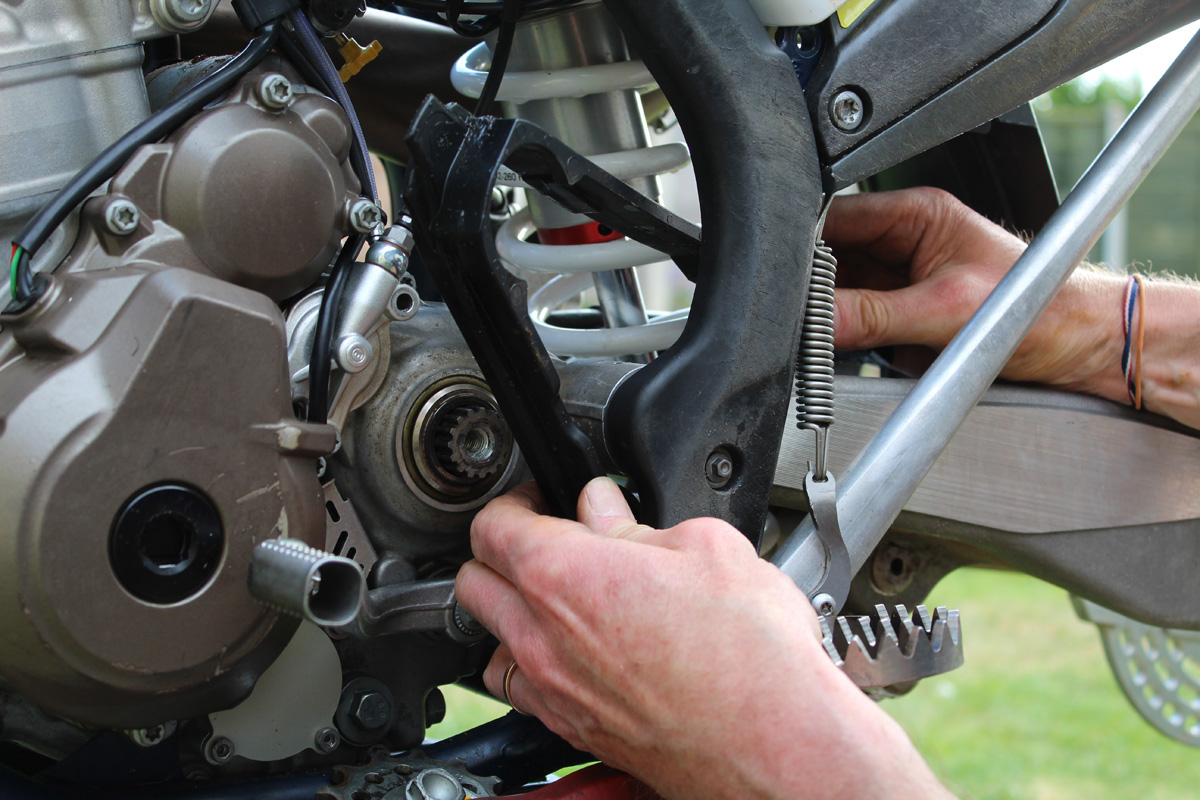
More or less, it’s two bolts all the way with this job. Next are the two bolts retaining the rear chain guide, followed by the chain protector ahead of the chain guide, which bolts in with cupped washers top and bottom of the swingarm (the top one on ours was caked in dirt and needed cleaning out before the 8mm socket would connect).
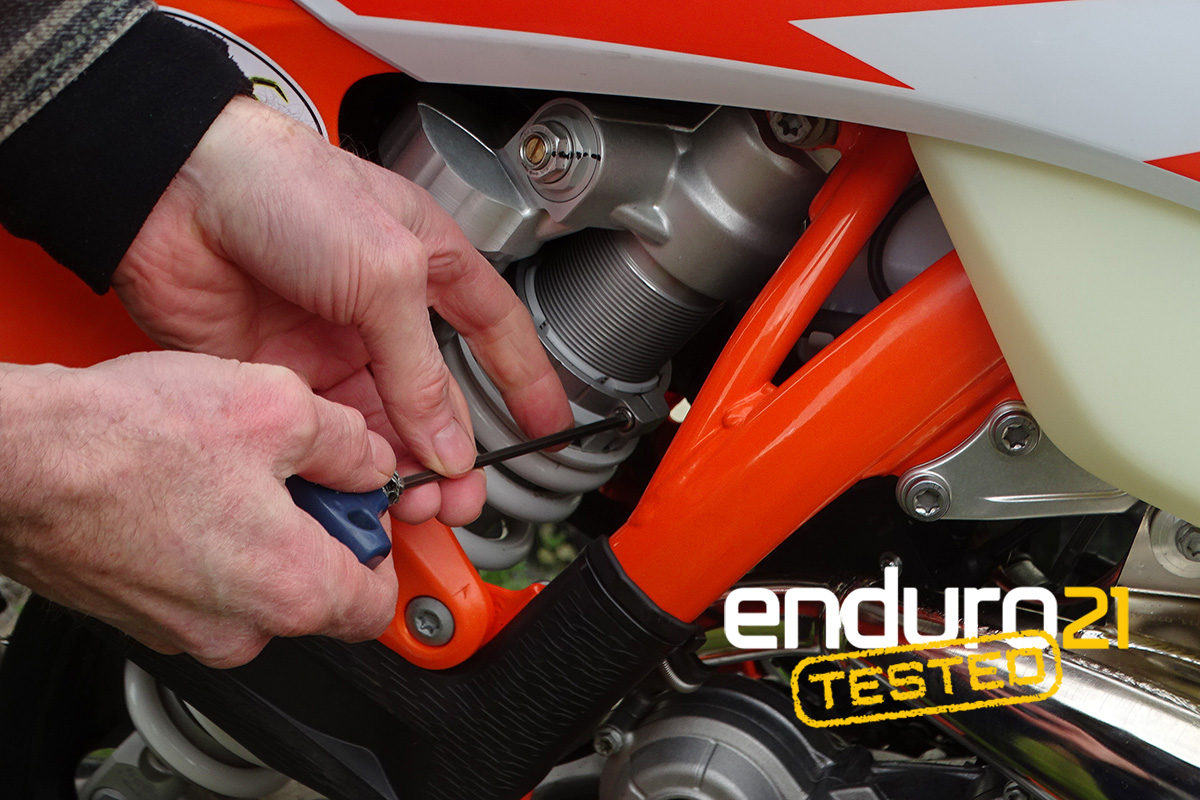
Just a single bolt holds the standard lower frame slider ‘pad’ undone from the inside/backside of the footrest mount.
Clean and keep all the bolts you’ve removed (you need some to refit with new parts) plus give the swingarm a good clean and remove any dirt or old thread lock from the bolt holes.
Fitment
The new parts from TMD basically bolt straight in so follow reverse order with every step. Use the OEM bolts or the replacement bolts and washers, which come in the pack (instructions in the pack explain which to use and also say to check length of each before using).
The new TMD parts come fitted with spacers and sleeves and in all cases we used a dab of thread lock on the bolts on refitting. NB: check the manual for torque settings and do not over-tighten the bolts. Swingarms are pretty thin skinned these days and you can strip the threads if you’re a little heavy handed.
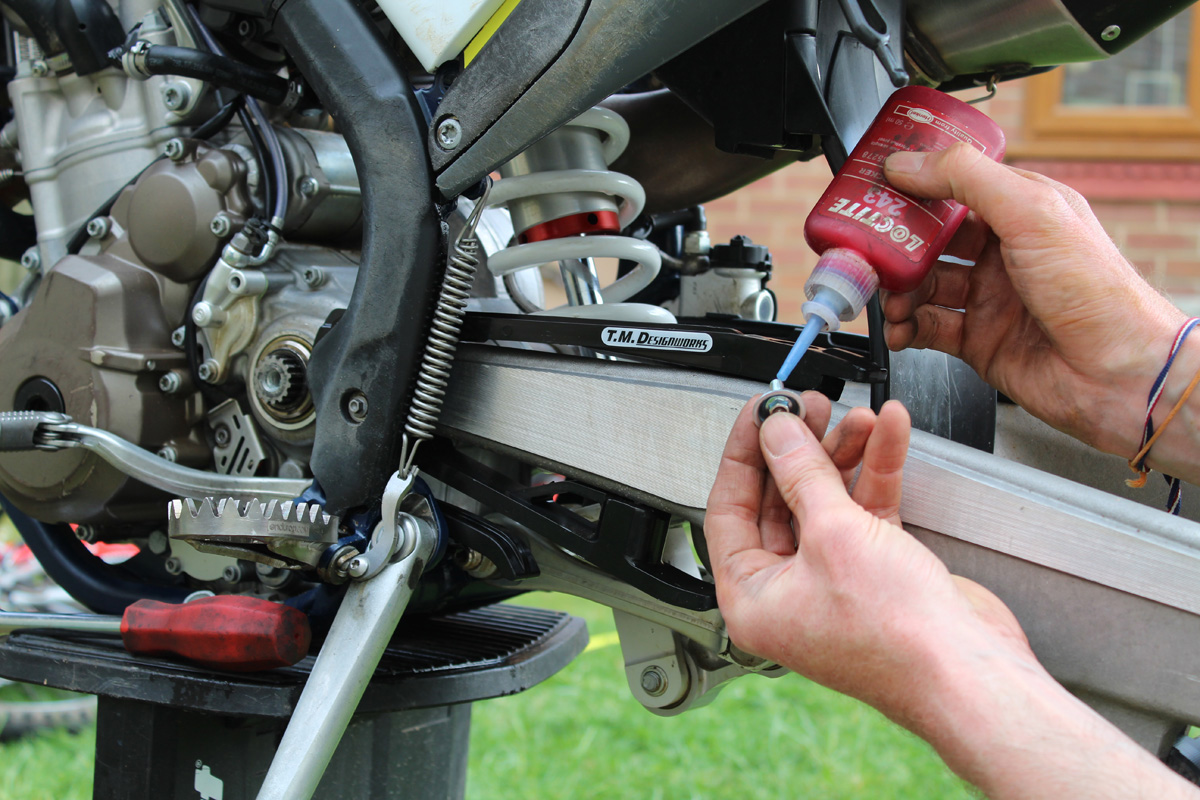
The lower frame slider, or pad as TMD describe it, (behind the kickstand mount point in the picture above), can go either way around depending on your model of bike so double-check this.
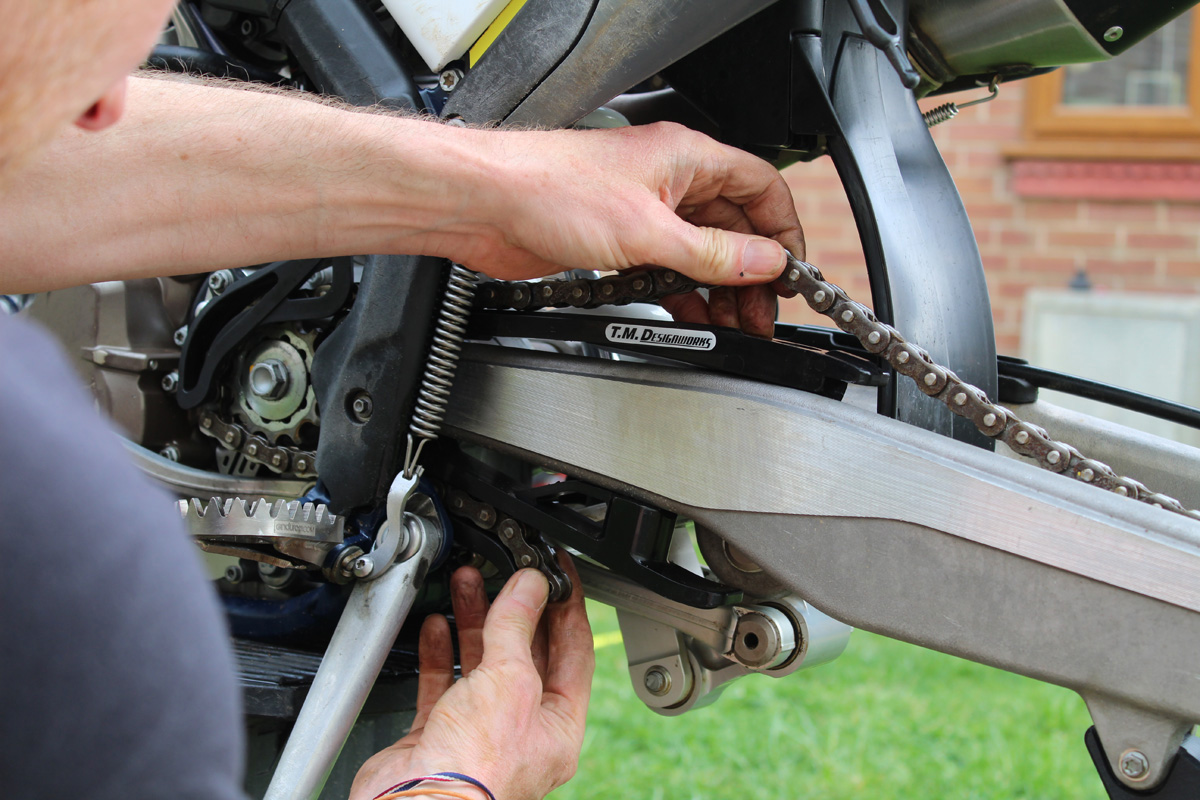
With the front sprocket torqued-up and the chain back on, we made a point of following TMD’s recommendation to check chain slack after installation and using minimum amount – 55mm on most KTM/Husky models – rather than maximum (don’t use the old two finger method because we haven’t all got 22.5mm width fingers!).
With the TM Designworks Slide n Glide kit fitted we naturally conducted a thorough seat of the pants test (spinning the back wheel before pushing it around the back yard!). It showed a marked improvement in the free running of the back wheel, but we will report back on this after a full and proper test.
Fast facts
- The Factory Edition 2 rear chain guide and sprocket protector accepts any sized o-ring chain and up to two tooth larger rear sprocket.
- The stock chain guard that sits up top of the swingarm, between tyre and chain, does not fit with the new rear TMD rear chain guide. A little trimming of the lug on the lowest mount (on the stock guard) would persuade it and you’d need to drill a small hole in the top TMD slider for the front mount bolt. But many people do not refit this part and check pro bikes from FactoryONE Shercos or Factory KTM/Husqvarna WESS riders and you’ll see they don’t use it.
- The wear pad on the rear guide is replaceable for around $25.
- USA customers get a six-month wear warranty (check with your local supplier elsewhere).
- This kit works with most KTM (2011-onwards) and Husqvarna (2014-onwards) off-road/enduro models.
- TMD sliders use a UV additive to prevent colour fade and material from drying out and cracking.
Fitting time: 1 hour
Cost: $159.95/£130/€145
Colours: Husky dark blue, Swiss blue, Black, Orange
More information and worldwide stockists: TMDesignworks.com
Photo Credit: Enduro21