
New enduro bike? What do you do first?
You bought a new bike, the question is, what do you do first? Go for a ride to bed it in, get a feel for it and see what’s what? Pull it to pieces and fit all the parts you want?
Whether it is a new or used bike you just bought, the process of going from freshie and feeling alien to fitting you like a glove and getting it just right is something we all go through.
Setting a bike up as you like it can take a bit of time, or experience at least, and it is a job which some people love to do themselves, while others get their bike shop to do all the hard work.
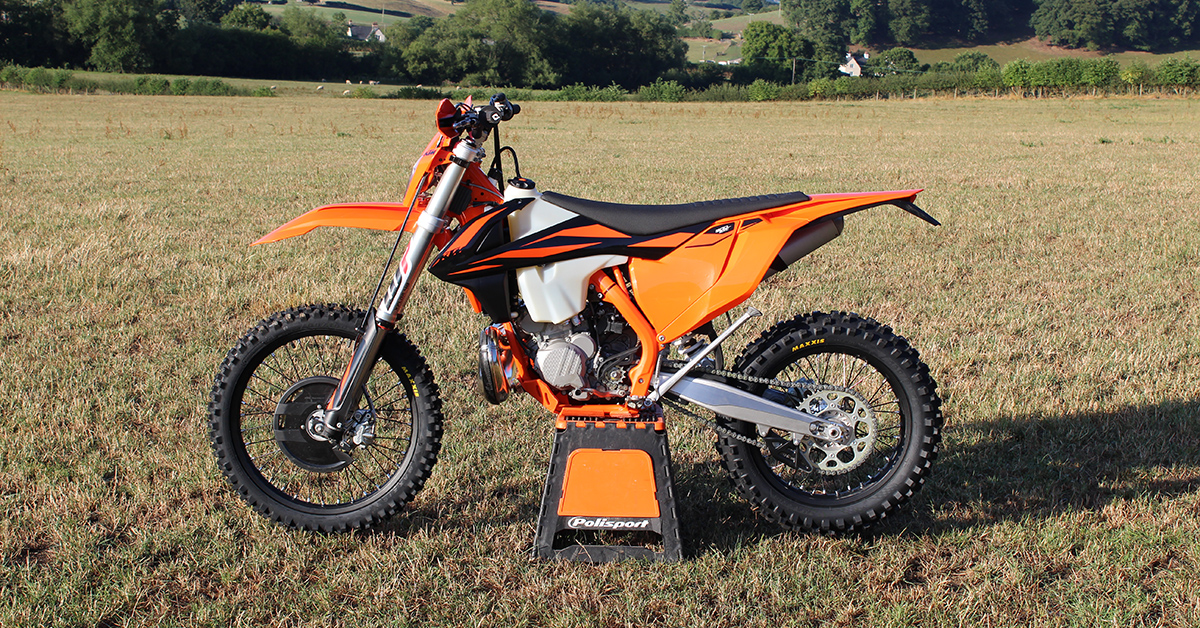
Enduro21 has kept it simple and documented the first steps of that process with a box fresh KTM 300 EXC. What we did and why we did it – the idea being hopefully to be food for thought and to get some wisdom being relayed through the E21 Facebook page.
A lot of the set-up can be simple stuff though; adjusting levers, setting suspension, maybe transferring a few parts off your old bike onto the new one. Getting those basic things right makes it fit and feel like yours.
What to do first? We went for a ride…
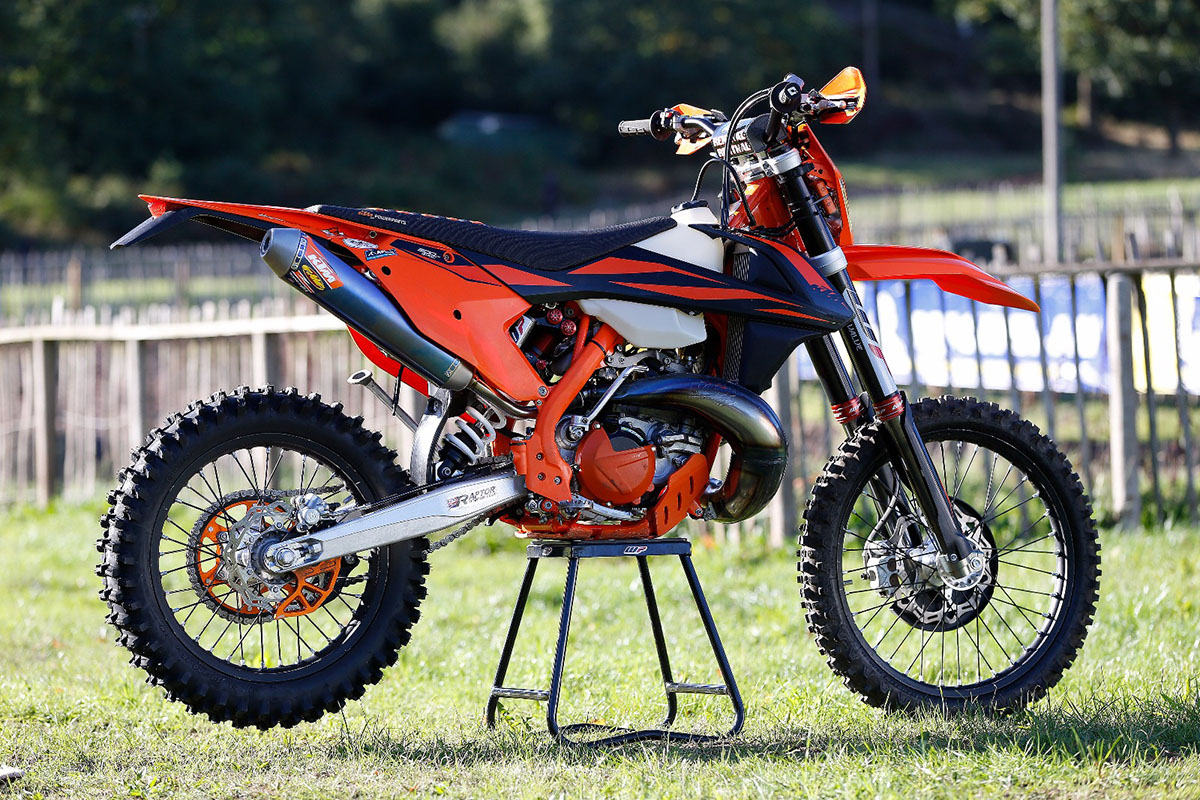
This brand-new EXC had been run up to temperature, through a heat cycle, and that’s all. Lots of people prefer to do the first ride after a fitting some few parts and getting things set-up but our thinking was to get a feel for the bike first, work out what we did or didn’t quite like and start making changes once we’d felt what needed changing.
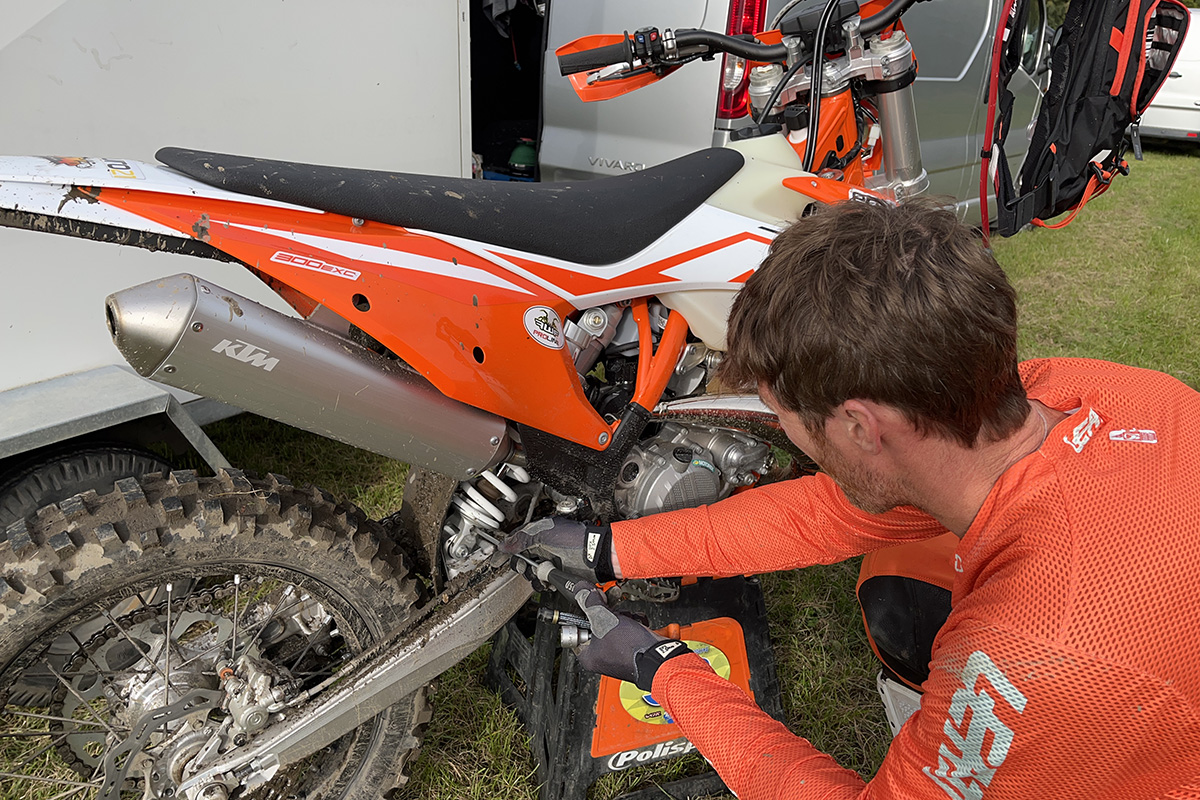
We took it to an open, enduro practice day and basically did a few laps, came back to the van, made some changes, went back out again and repeated that over a couple of hours.
Make the bike fit you
First job was making the bike feel comfortable and ‘fit’ the rider doing some pretty basic things but which can make a big difference.
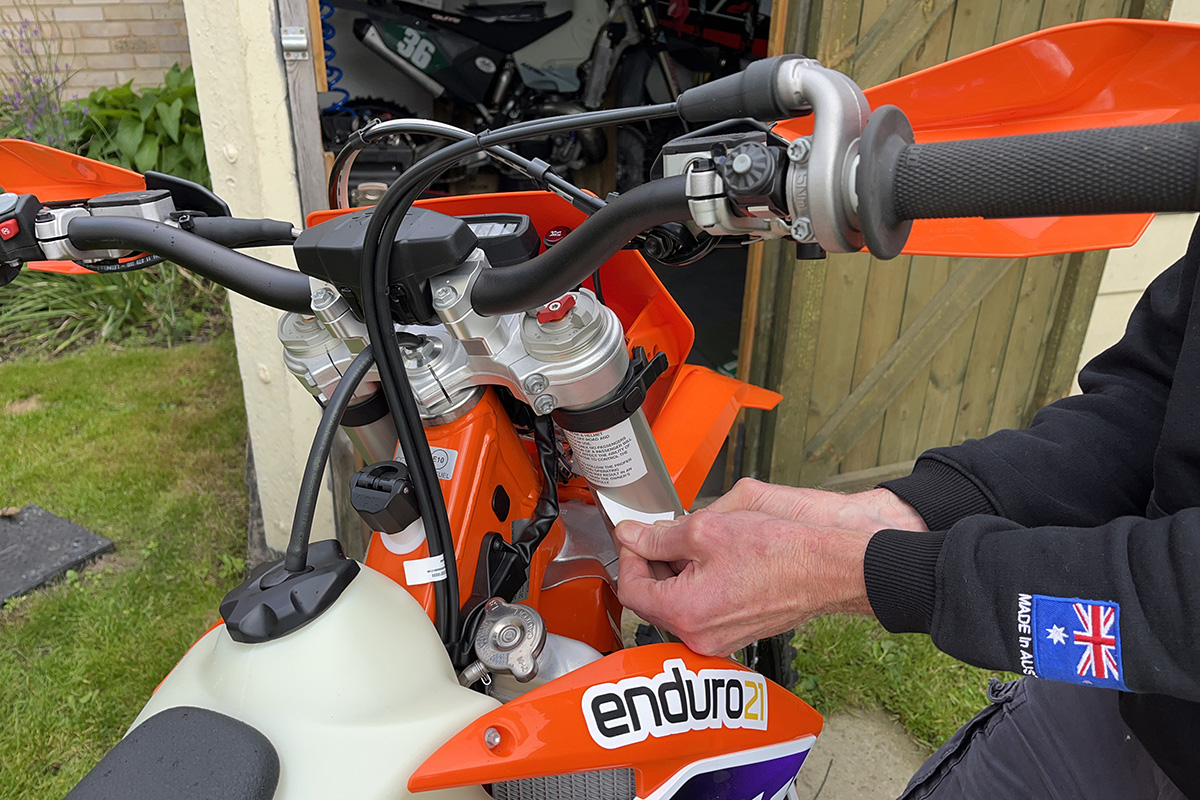
- Angle of the levers – adjust at the clamps on the bars to fit you. Common thinking is to approximately have them set to continue the line of your forearm as you stand up on the pegs. That way you’re not stretching or straining – the controls should be within relaxed, easy reach.
- Lever biting point – adjusting where your fingers can reach to and where the clutch and front brake levers bite brings them literally within reach. Short or long fingers? Find the sweet spot for you.
- Change the handlebars – bar bend affects your riding position, where your weight naturally is (front or back) and how much your back and elbows bend in the standing position.
- Bar position in the yokes – adjusting where the handlebars are clamped and, if it’s an option, which position in the clamps, affects your reach and riding position.
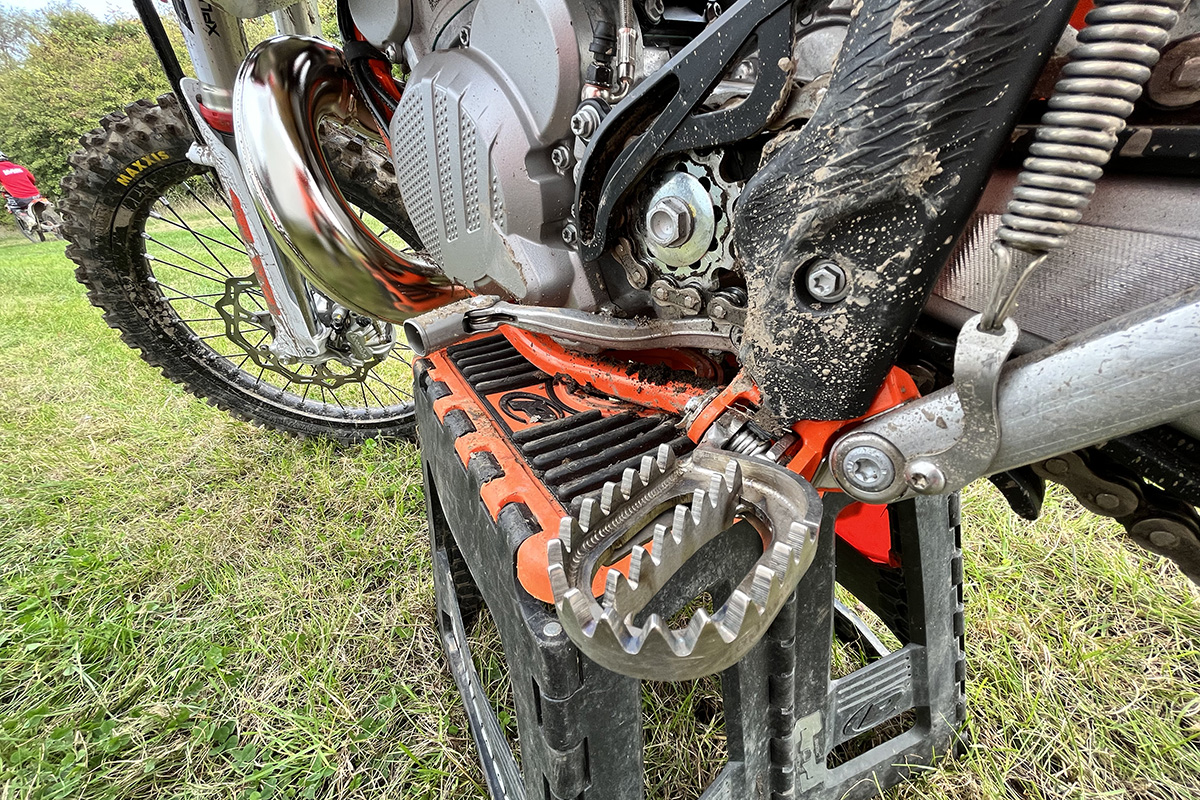
- Change the footrests? – this is personal preference, but we’ve gotten used to the 5mm down, 5mm back pegs and have used these Raptor Titanium ones so much they’re getting worn down. Again, different footpeg positions affects your body posture on the bike and these just feel right on an Austrian enduro bike to us.
Peel the stickers off
Most new bikes come with a heap of disclaimer notices and marks all over them. Wear a helmet used to be the daft one which is less common now but there are still plenty on new bikes and de-badging it back to the decals you want makes it look better.
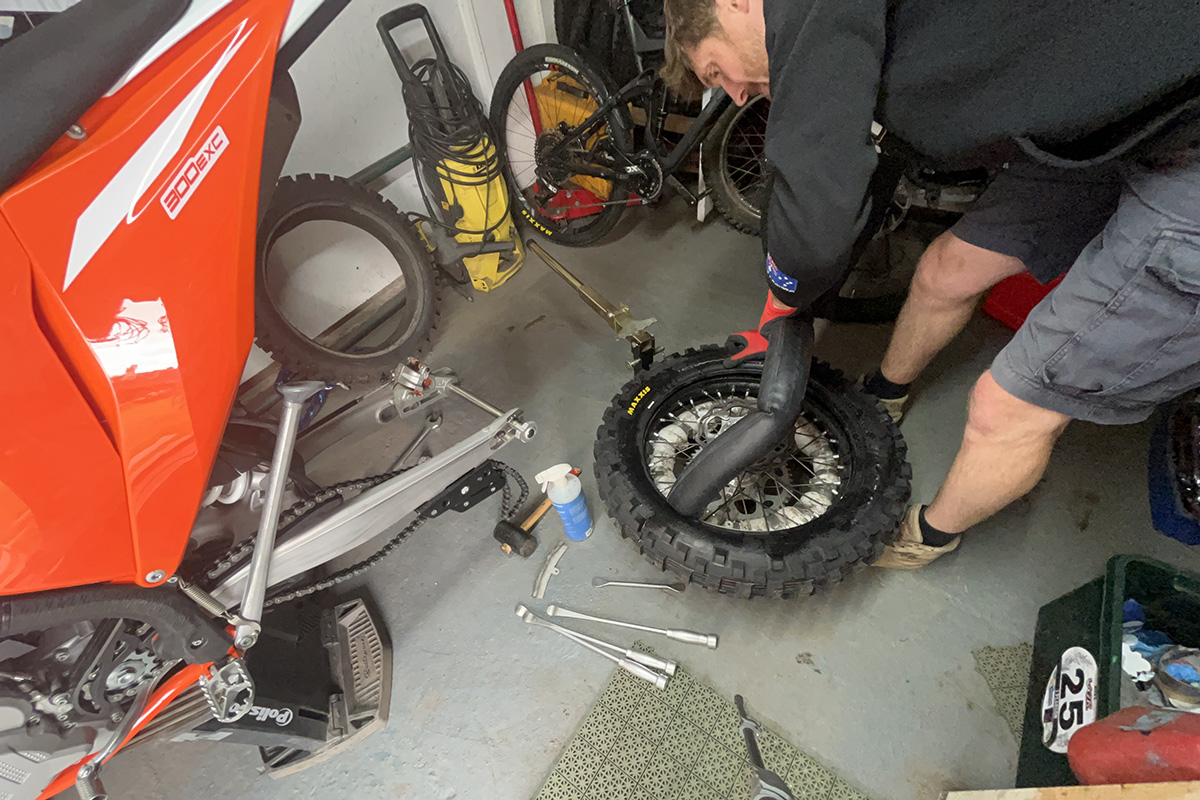
Take the tubes out!
You might not subscribe to this one depending on what you do with your bike and where you ride but tubes are just not worth the trouble for us. Sure, they make tyre changes easier but the chances of having to deal with punctures are too high in enduro or hard enduro.
We’re in the mousse camp, and they can be a pain in the arse to change but when they’re in, they’re in for the day’s riding and you have no worries except whether you fitted a soft enough one for all the rocks!
Fit some protection
Not essential by any means but if you put a bit of protection on some parts of the bike straight from new, your bike will all thank you for it 100 hours down the line or further when you come to sell it. We fitted an AXP Xtreme skid plate and Polisport clutch case cover.
Things like the lower frame rails, the engine cases and the suspension linkage (unless you have a PDS-type chassis) will be protected from big hits obviously but all the millions of stones thrown up by the wheels will hit the sump guard and not chip away at the cases or frame.
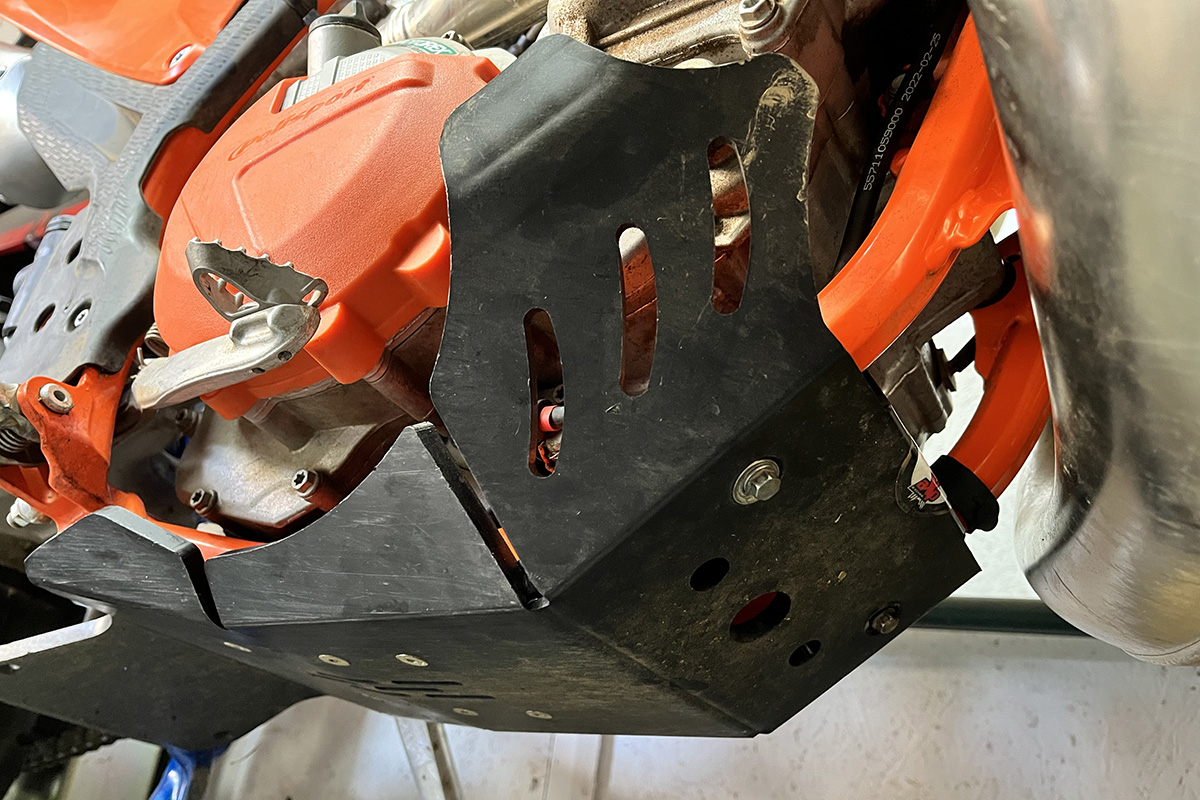
While we’re at it, which other protection? Clutch cover guard? A rear disc guard? Radiator guards? Lower fork leg guards? There are a few choice items which can save the looks of the bike as much as they protect from damage.
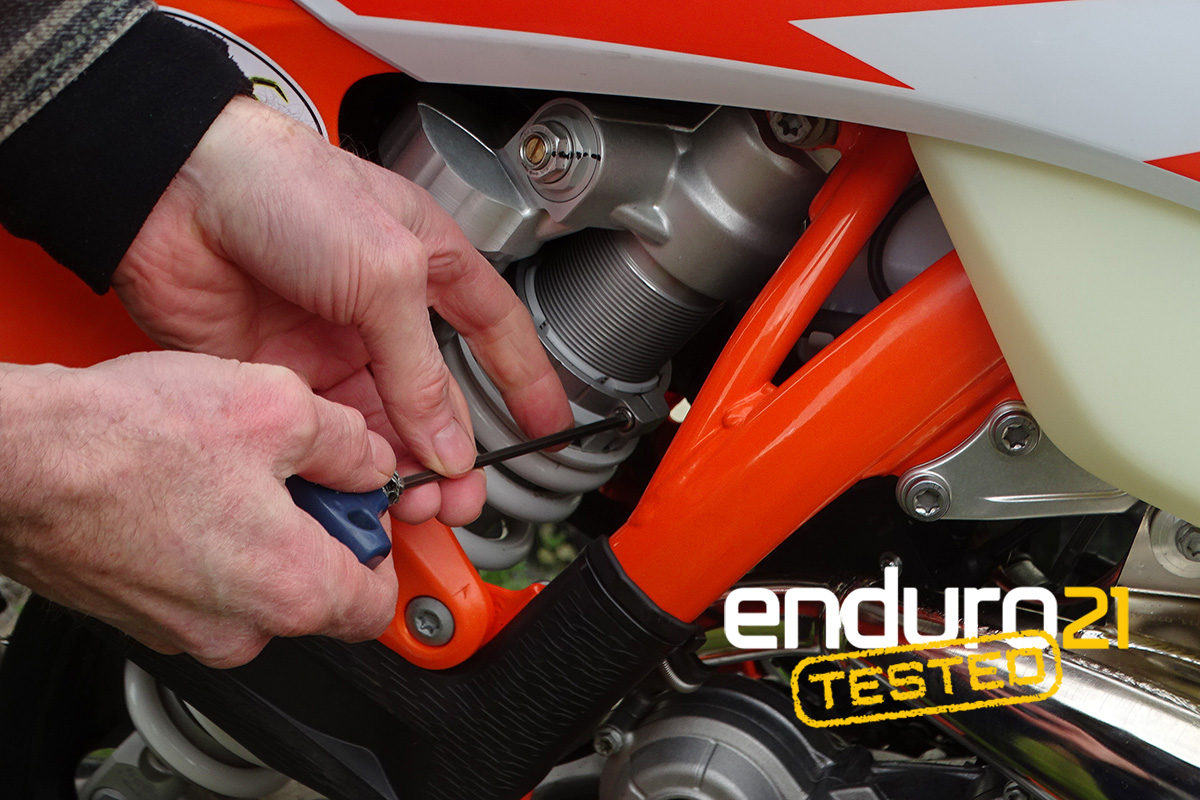
Nut and bolt check
Hopefully the image below proves the point of doing a nut and bolt check on a new bike. Really, you should do it before every ride but it is especially important with a new bike because, well, because stuff like this can easily happen…
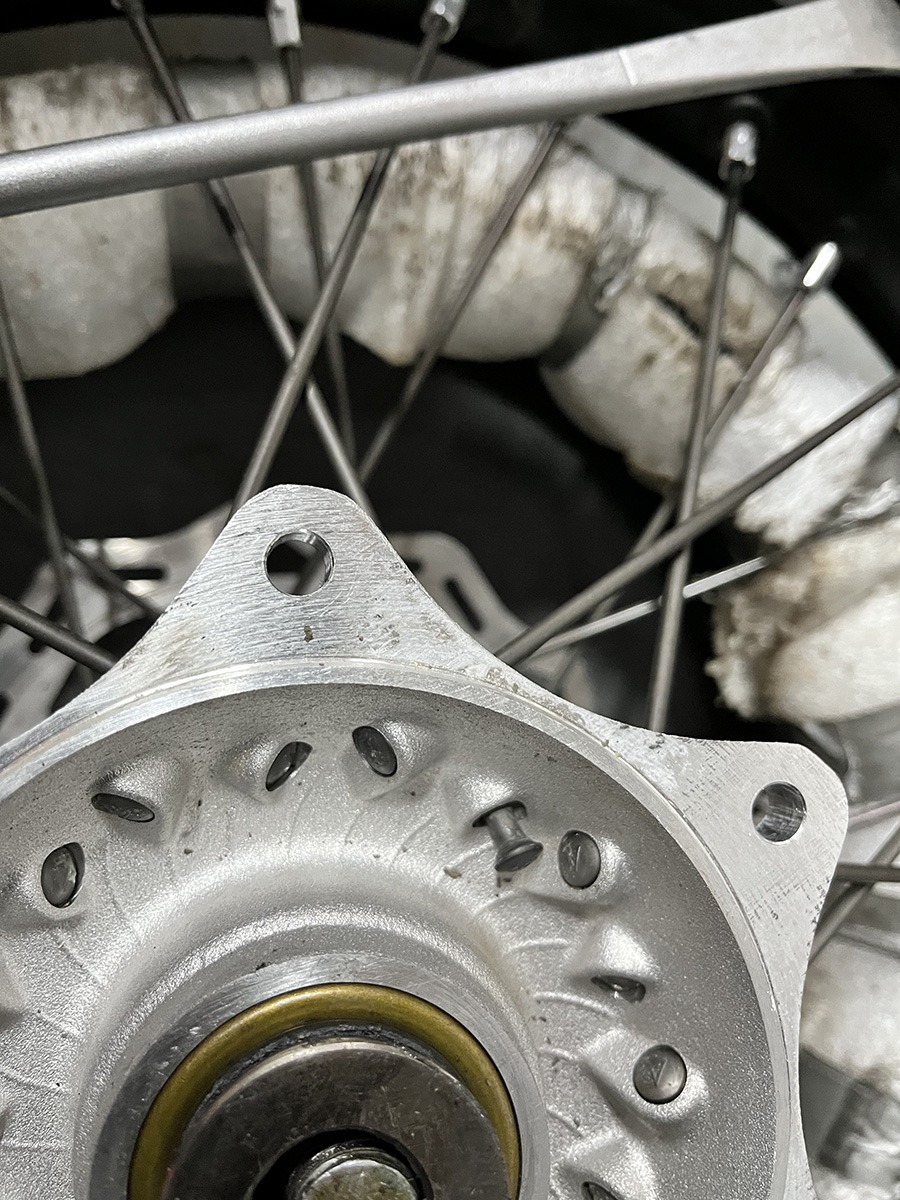
Typically, a nut and bolt check should include all engine and frame bolts, triple clamps, control clamps, brake caliper mounts and of course spokes.
Check also the fluid levels with a new bike, replace the oil (and filter if it is a four-stroke) after the first few hours – check your service schedule for this. If it’s a used bike we’d always be putting fresh oil (and a filter on 4T bikes), two-strokes might have been standing for a while too so get some fresh fuel in the tank and drain the carburettor (if it’s got one obvs).
What else? We regularly check any slack in the throttle cable(s) and chain. Both tend to stretch in the first hours or use and need adjusting.
Saggy Suspension?
We know many of you will already be thinking about the stock suspension. This being a ‘stage one tune’, all we did was tweak the adjusters and set the sag rather than do any tuning or replacing of stock parts.
After the first half an hour or so riding, back at the pits, we checked the sag and again after an hour. The stock WP XACT suspension had bedded in and needed the sag just rechecking. 37mm static is standard but we took 5mm off that to try and keep it flatter and a bit more stable.
Taking it to the races
With all the above set-up changes made we took it to a WOR Events three-hour cross country race on a golf course (we couldn’t resist that one!).
It was the blast we’d hoped it would be on an old golf course and how fast the bikes could go on the straights was just about the biggest difference between riders on the day.
A top 10 overall, best in the over 40s class proved the stock EXC can do the job though and the set-up was fine for these three hours. The homework getting levers, footpegs and bars set, the knowledge that thigs were set right and made the bike comfortable and familiar despite it being the first real outing.
Sure, the suspension was soft and on the couple of jumps was hitting the end of the stroke. But without too many badly whooped out sections, it wasn’t getting overworked and too hot which is where the stock kit from KTM gets overwhelmed. We came away with some blisters, but it was good enough on this flat course.
Our suspension settings for a pretty flat XC enduro using standard suspension (KTM handbook numbers in brackets):
Front forks
Compression: 6 clicks out (15 clicks Std)
Rebound: 6 clicks out (15 clicks)
Preload: 0+ (as Std)
Shock absorber
Low-speed compression: 8 clicks out (15 clicks)
High-speed compression: 1 turn out (2 turns)
Rebound: 12 clicks out (15 clicks)
Preload: 32mm static sag (37mm static/110mm with rider)
We’ll do more on this ‘what to do with your first’ theme – next up a used bike…
Head back to our Facebook post on this story if you fancy it and let us know what it is you do with a freshie...
Photo Credit: Enduro21